How to Use Wacaco Picopresso?
If you decide to purchase a product through a link on the site, I may earn a commission without additional cost to you.
Guide to Wacaco Picopresso Portable Espresso Maker
Guide to Wacaco Picopresso Portable Espresso Maker— In this blog I will show you a quick guide: how to make authentic espresso coffee step by step, including pros & cons.
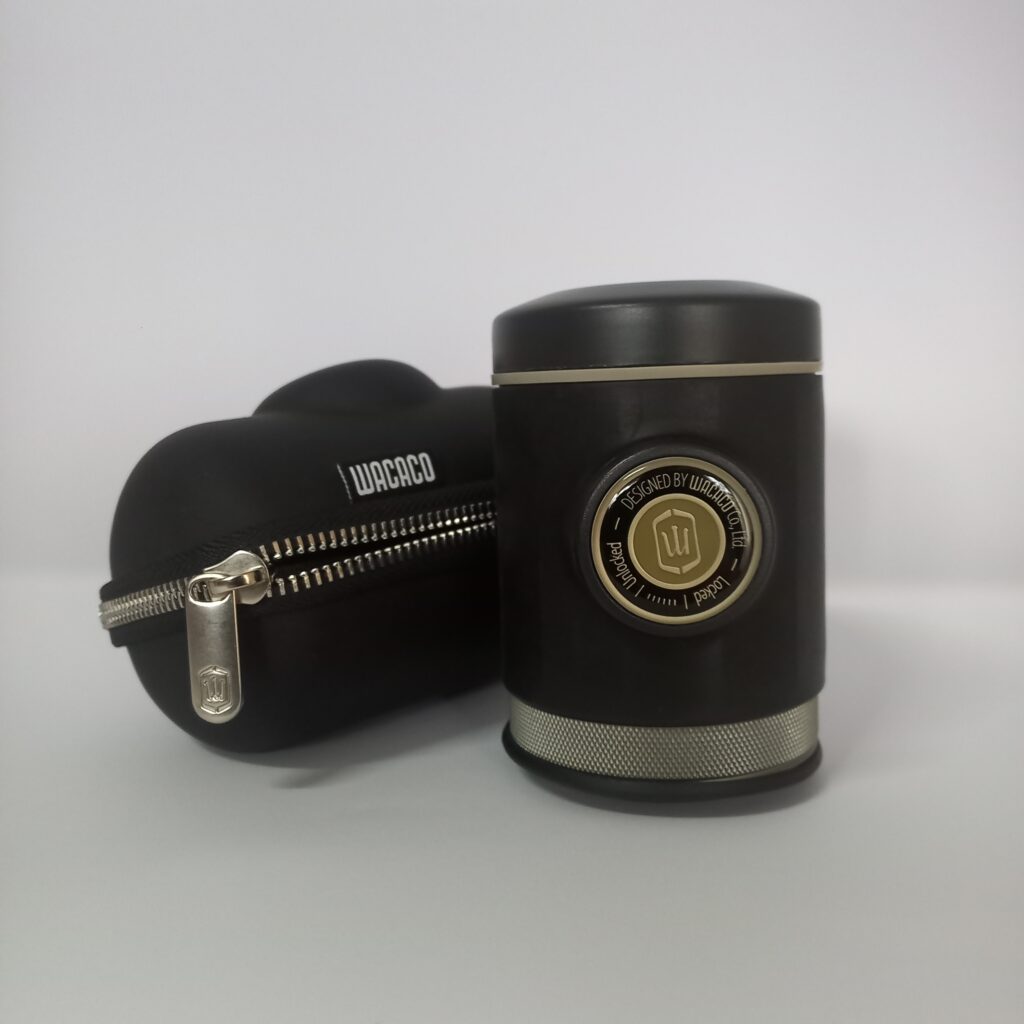
Highlights of the Wacaco Picopresso
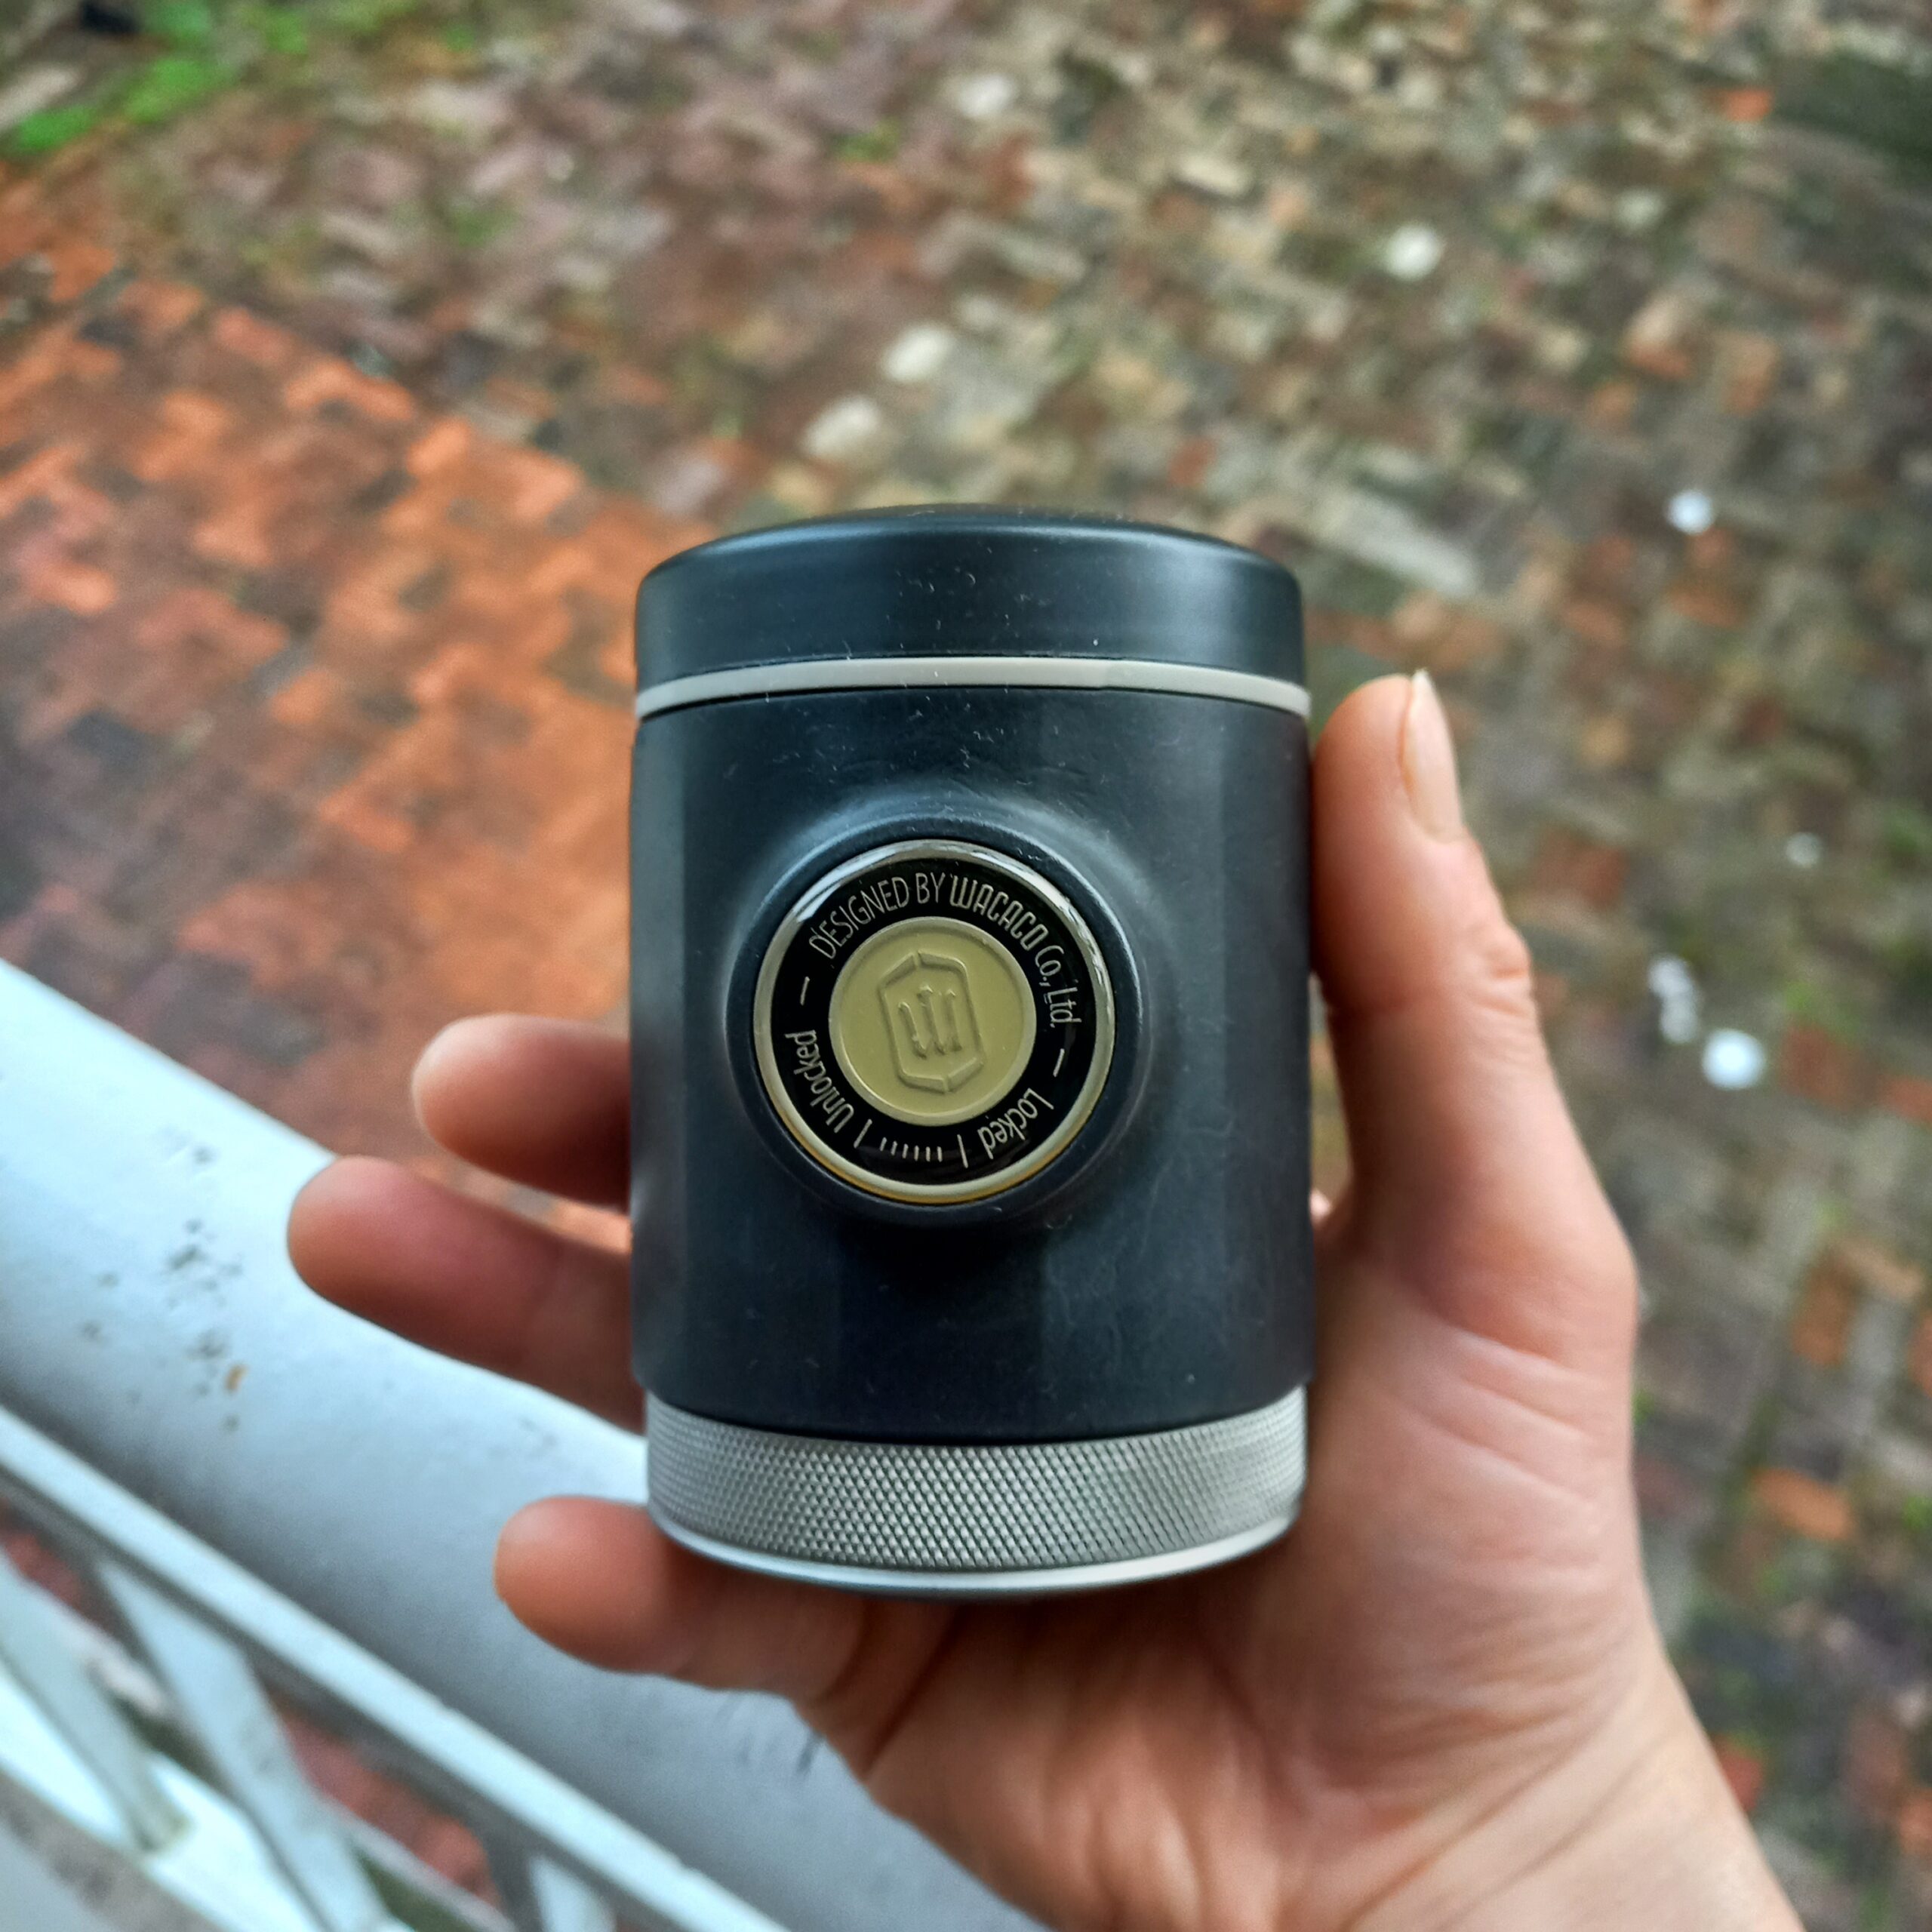
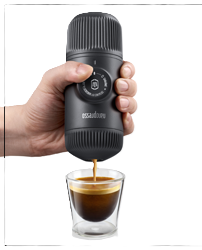
True Portability
The first thing you notice is the size — it genuinely fits in the palm of your hand.
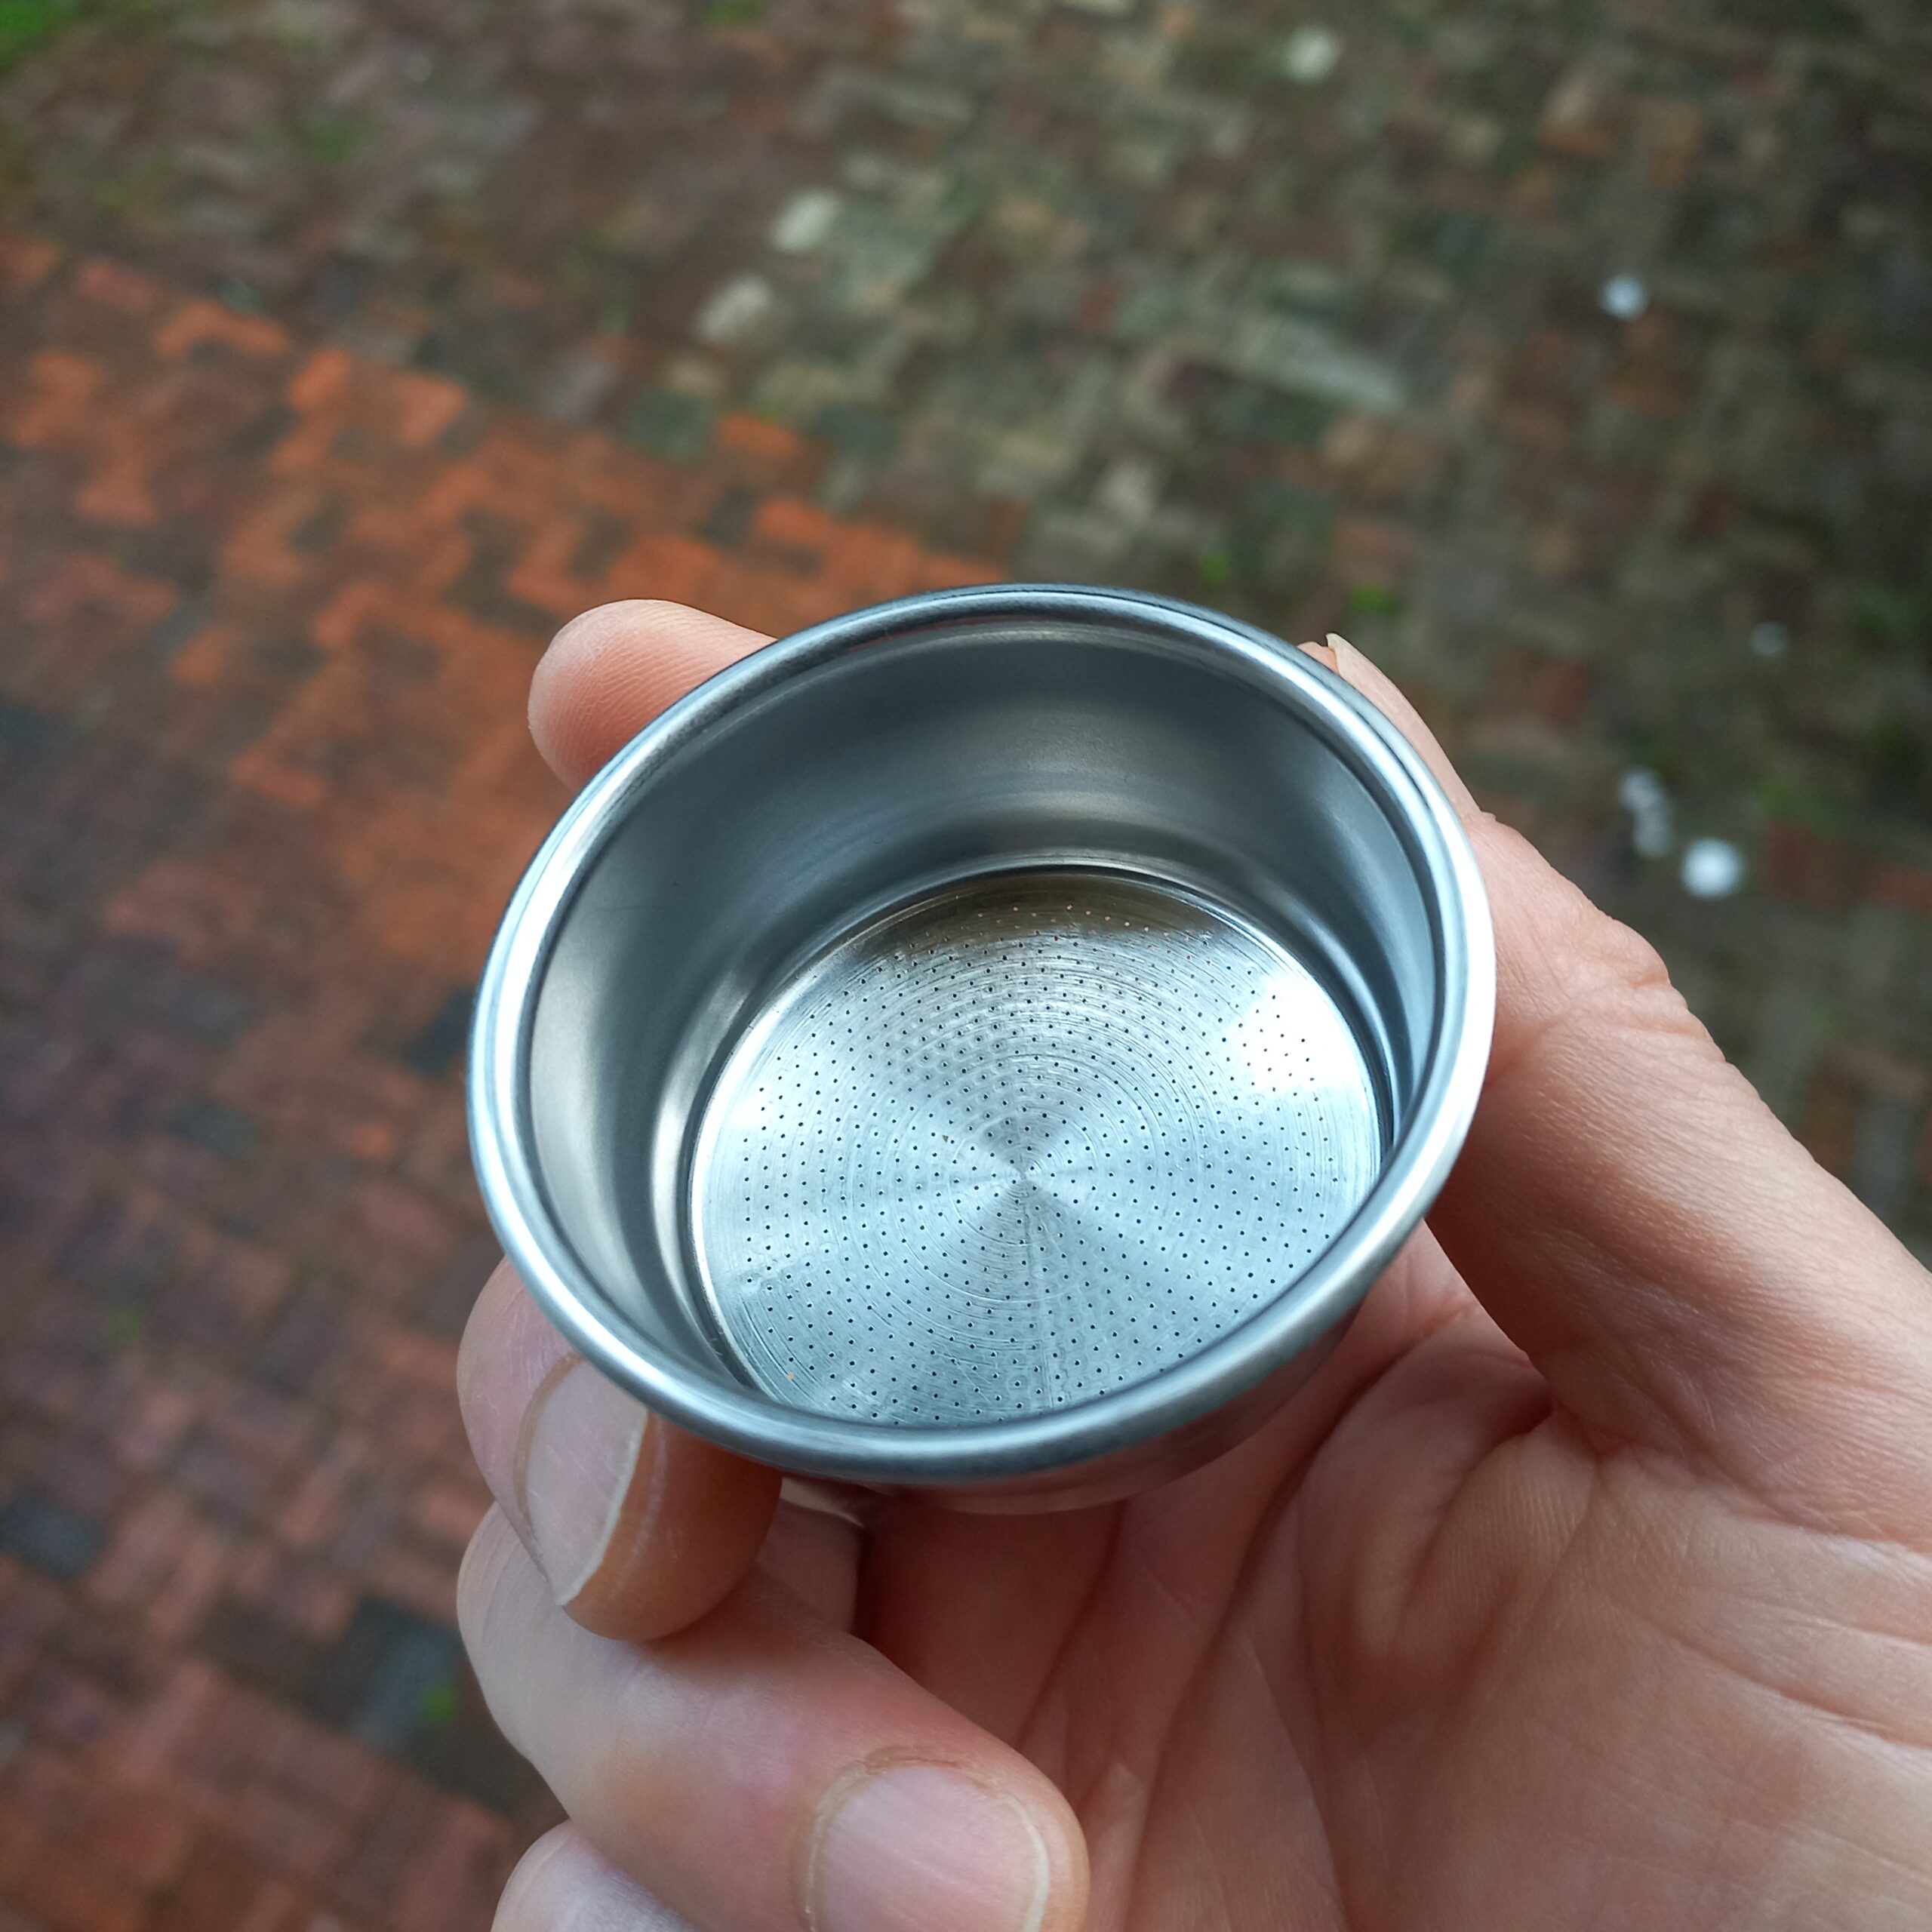
Professional Standard
It uses a real 52mm stainless steel basket, not the pressurized plastic caps found in cheaper gear.
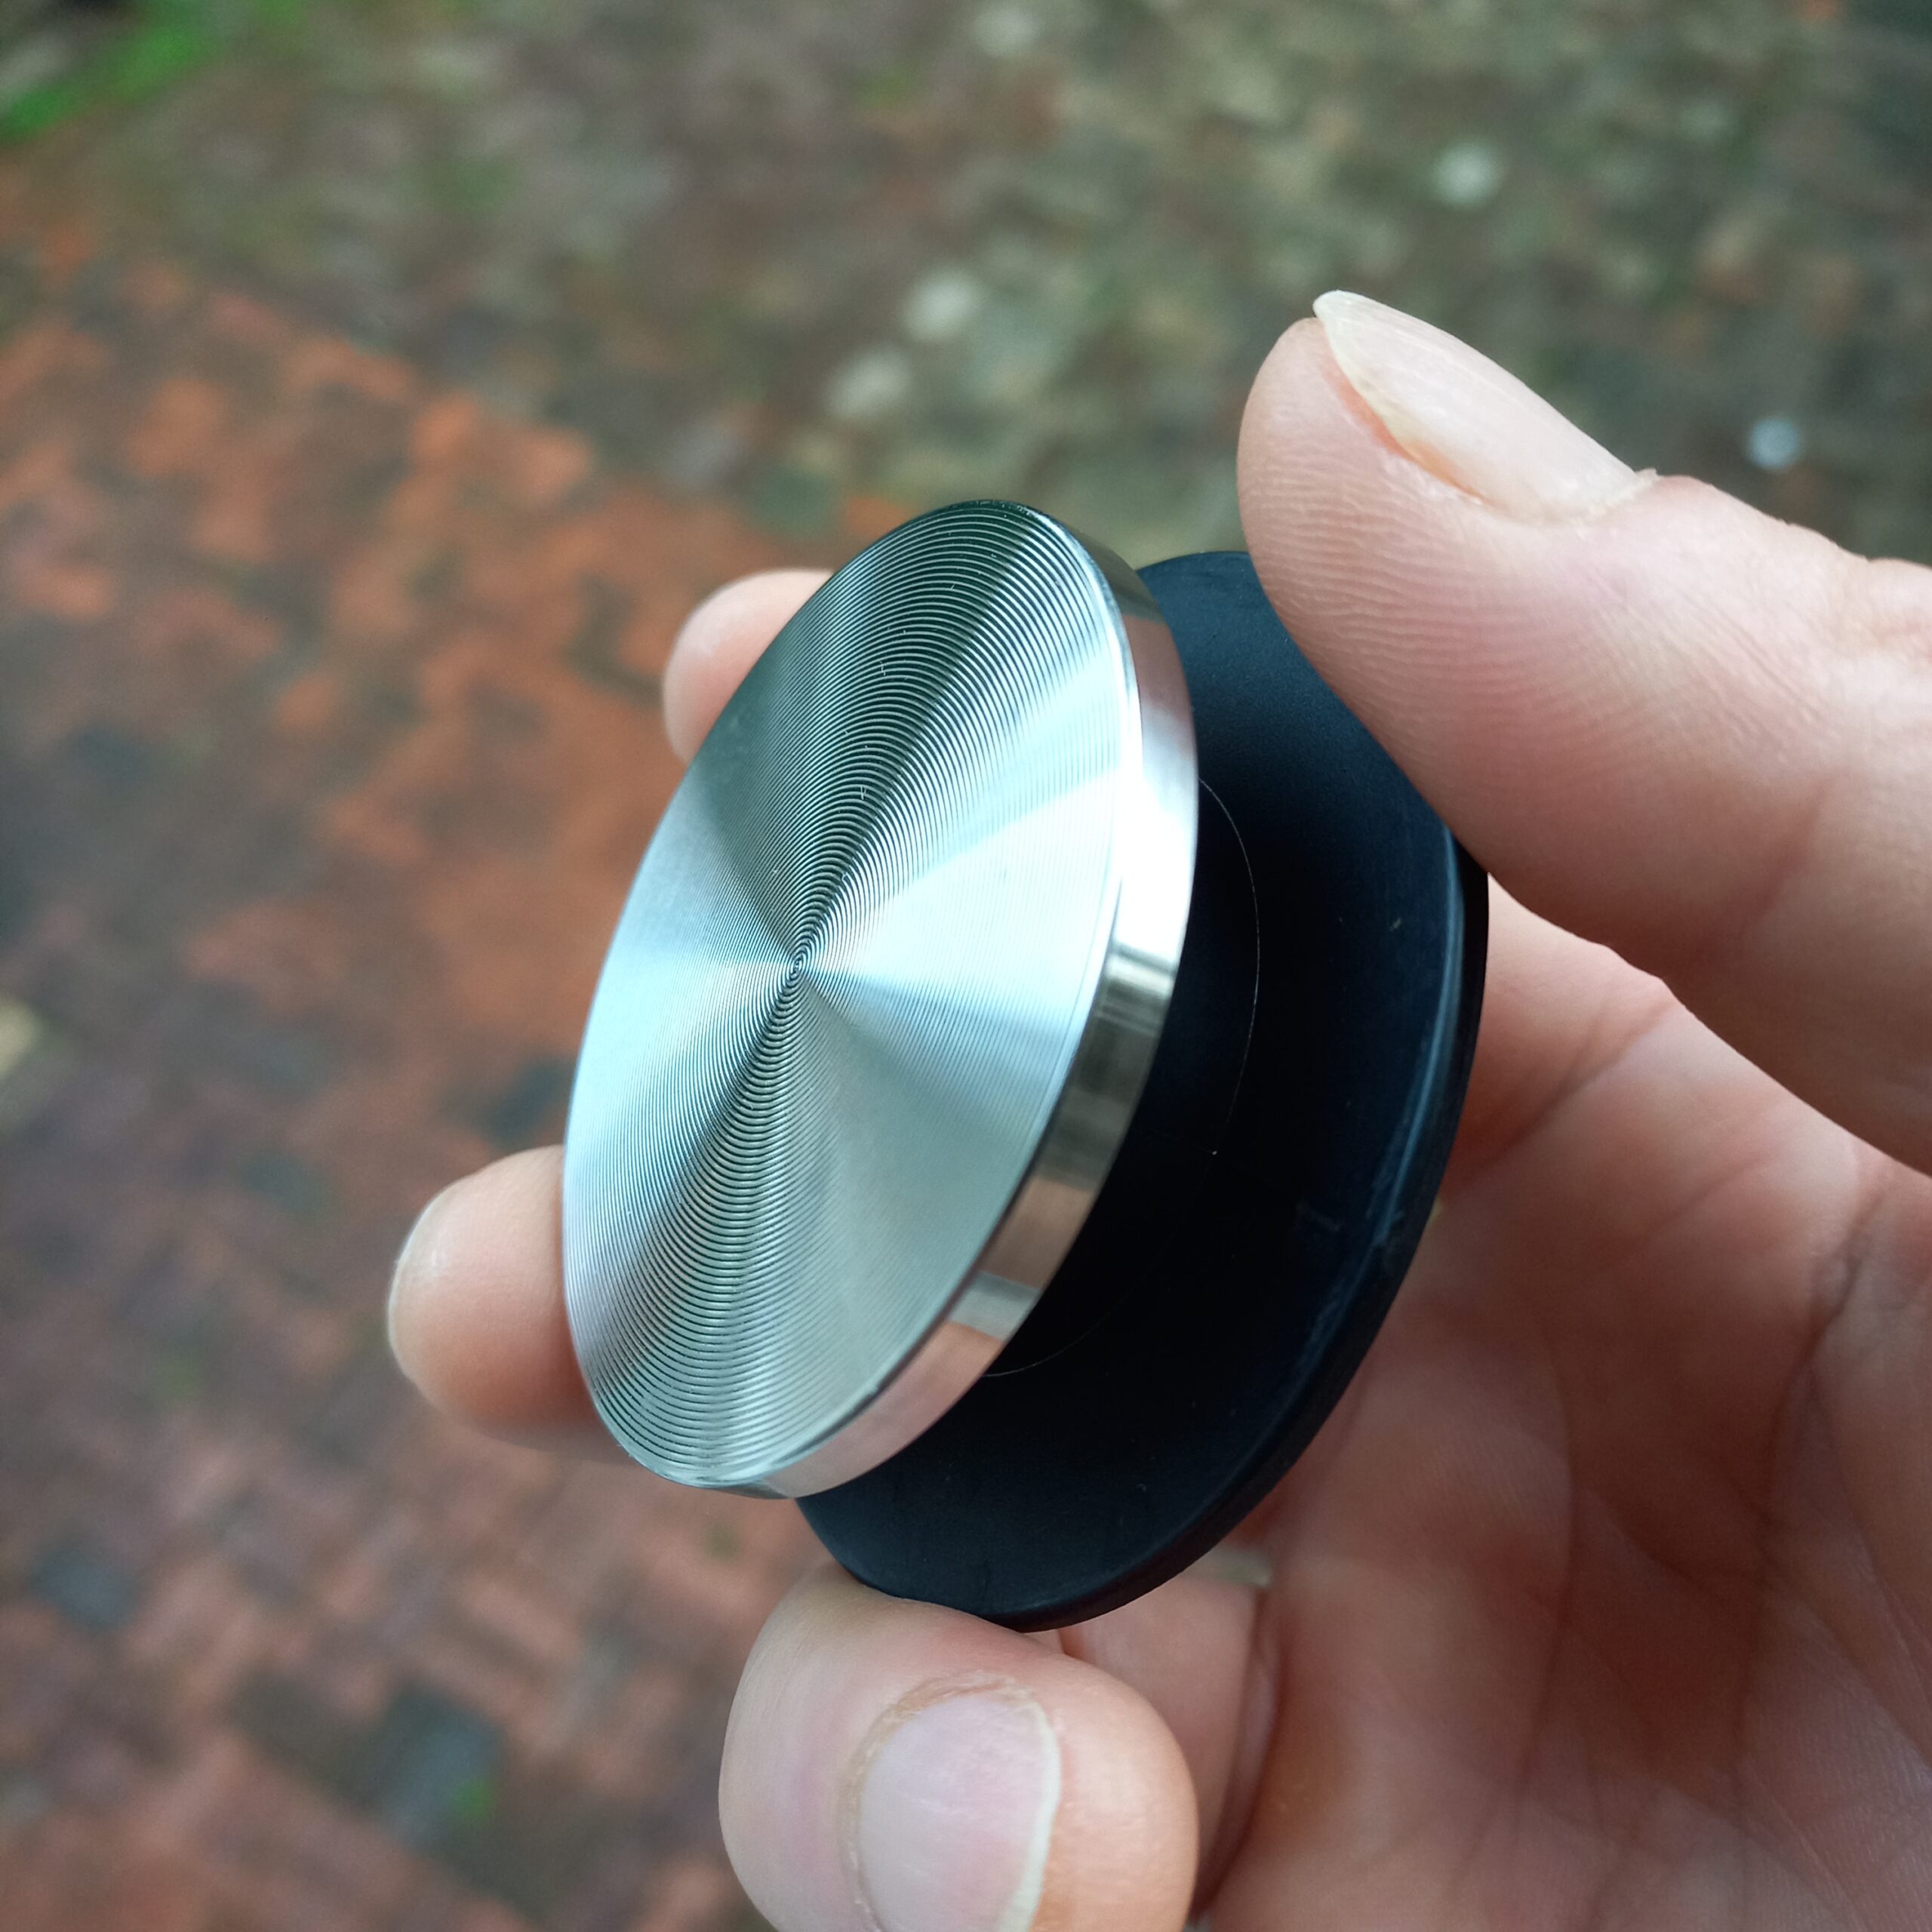
Build Quality
The tamper is surprisingly substantial for such a compact device.
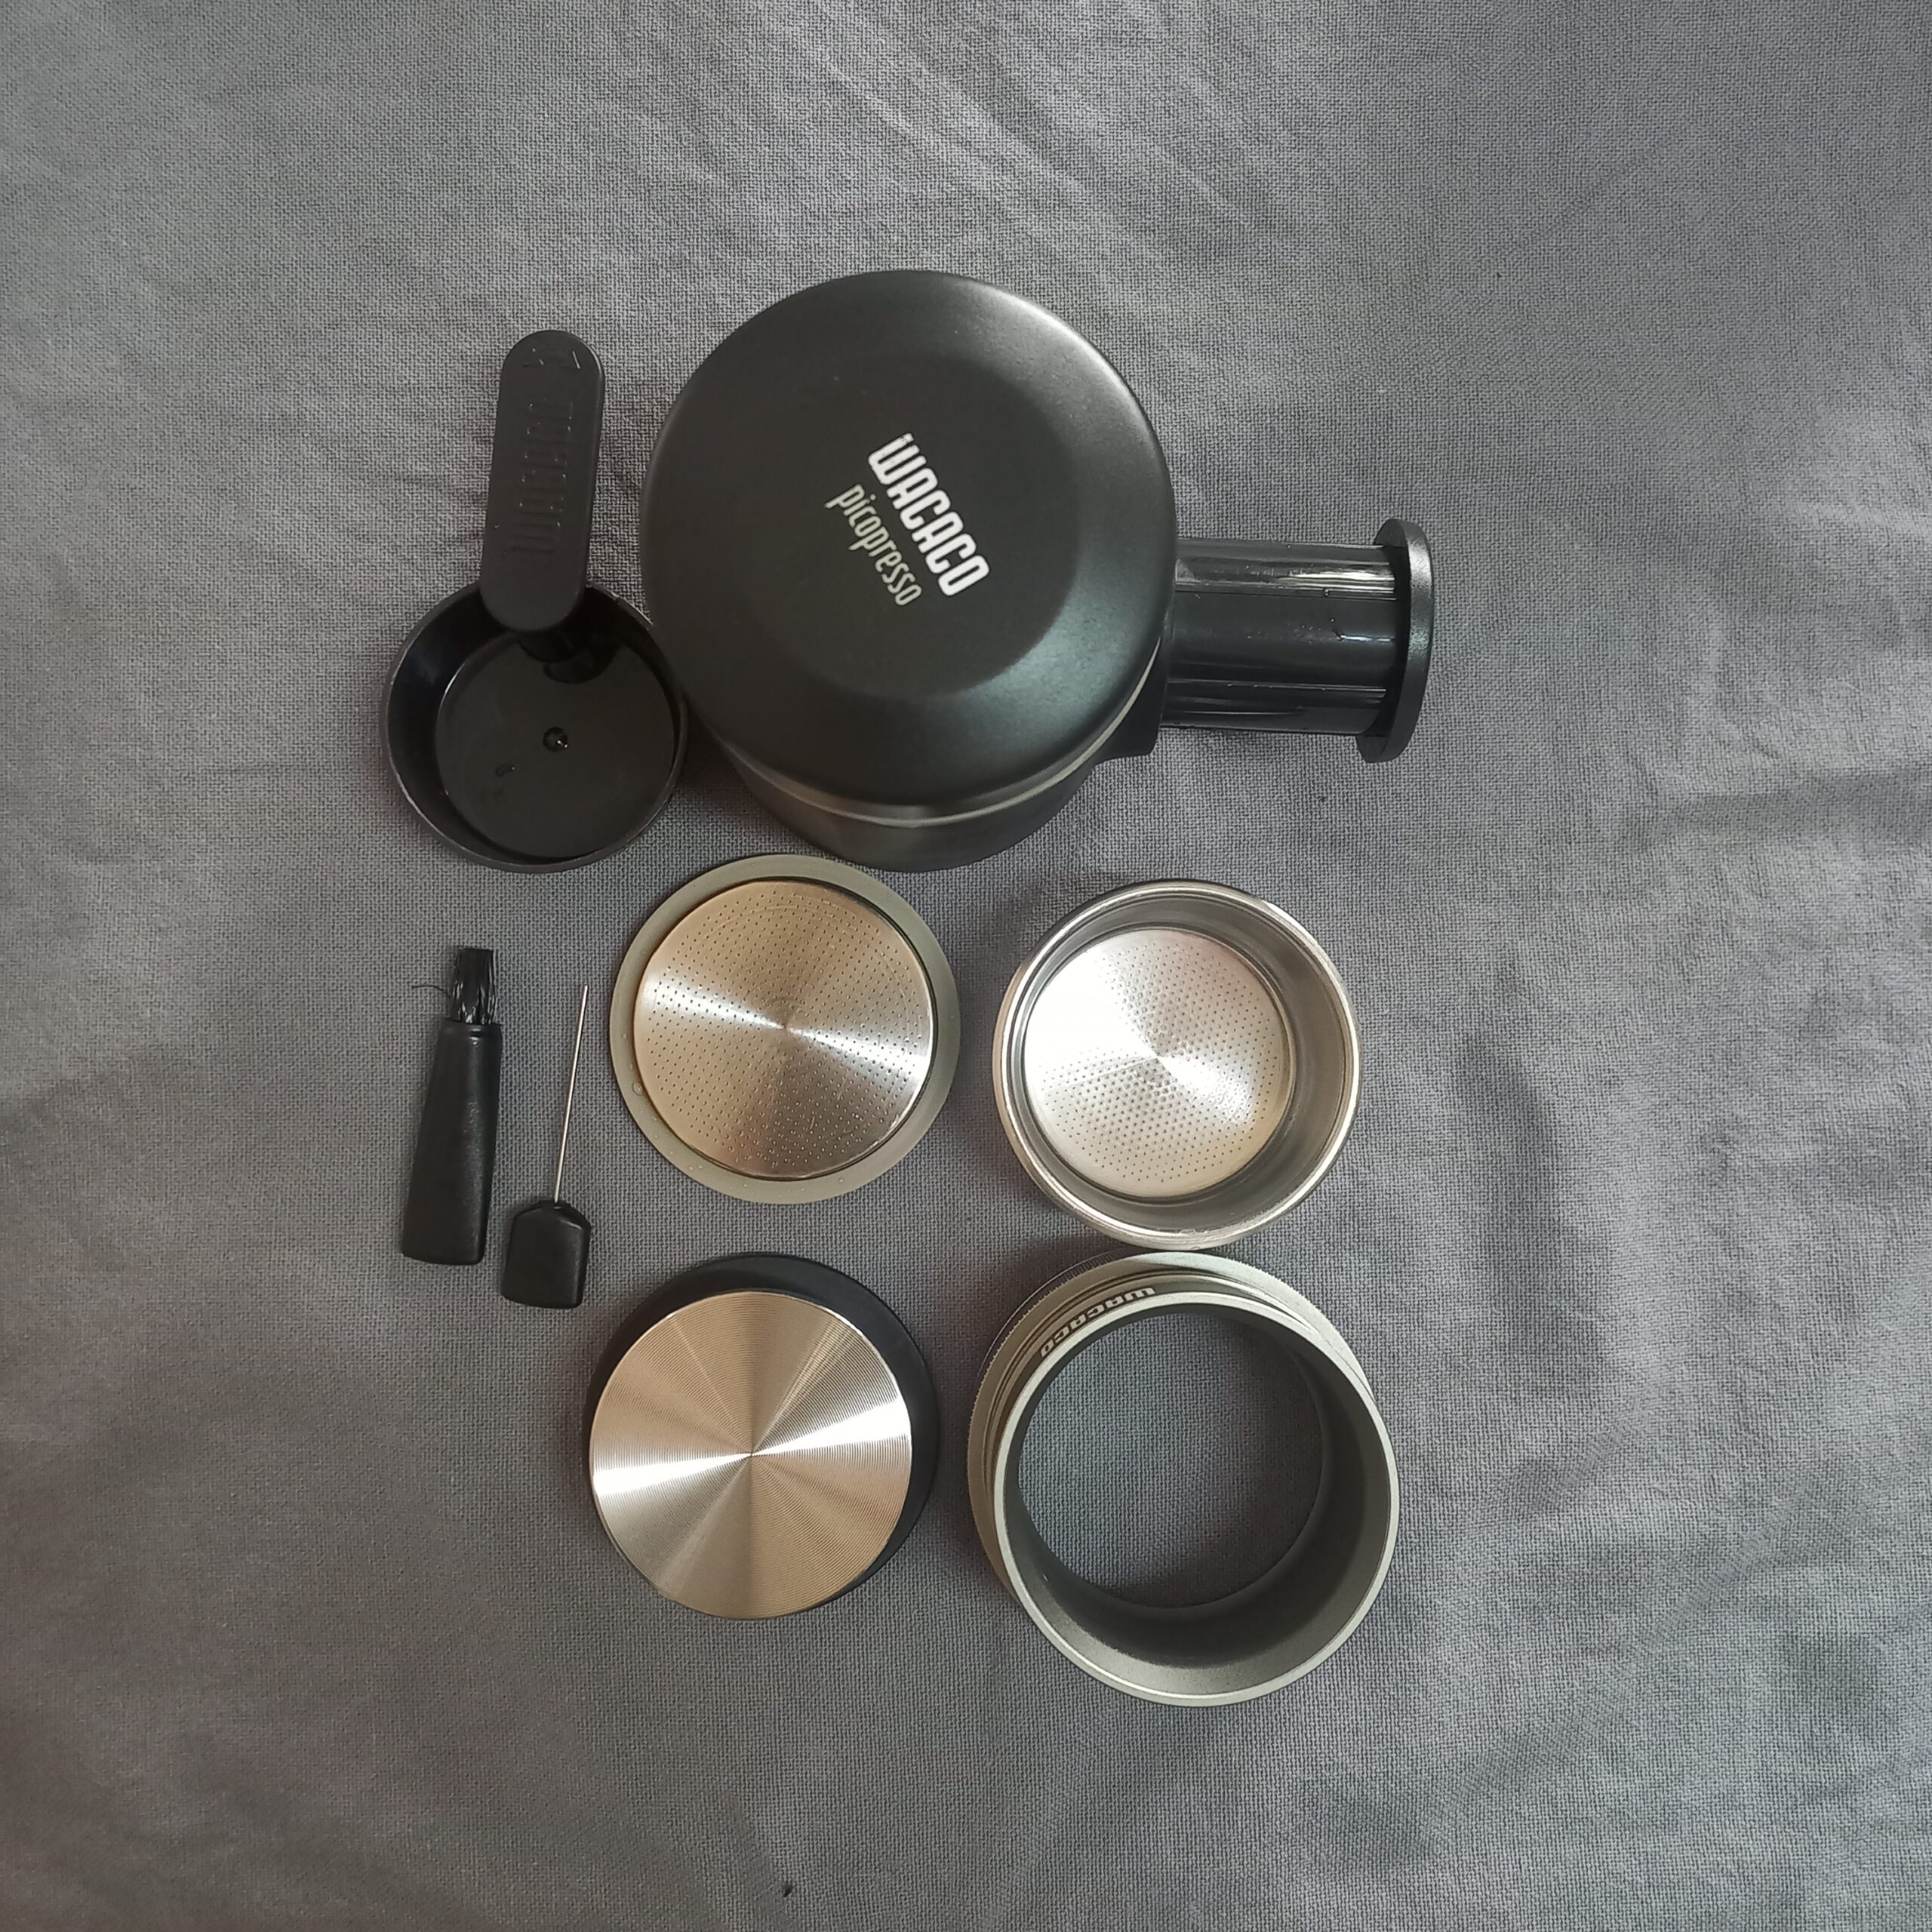
Key Specs & Accessories
How to Use: Wacaco Picopresso
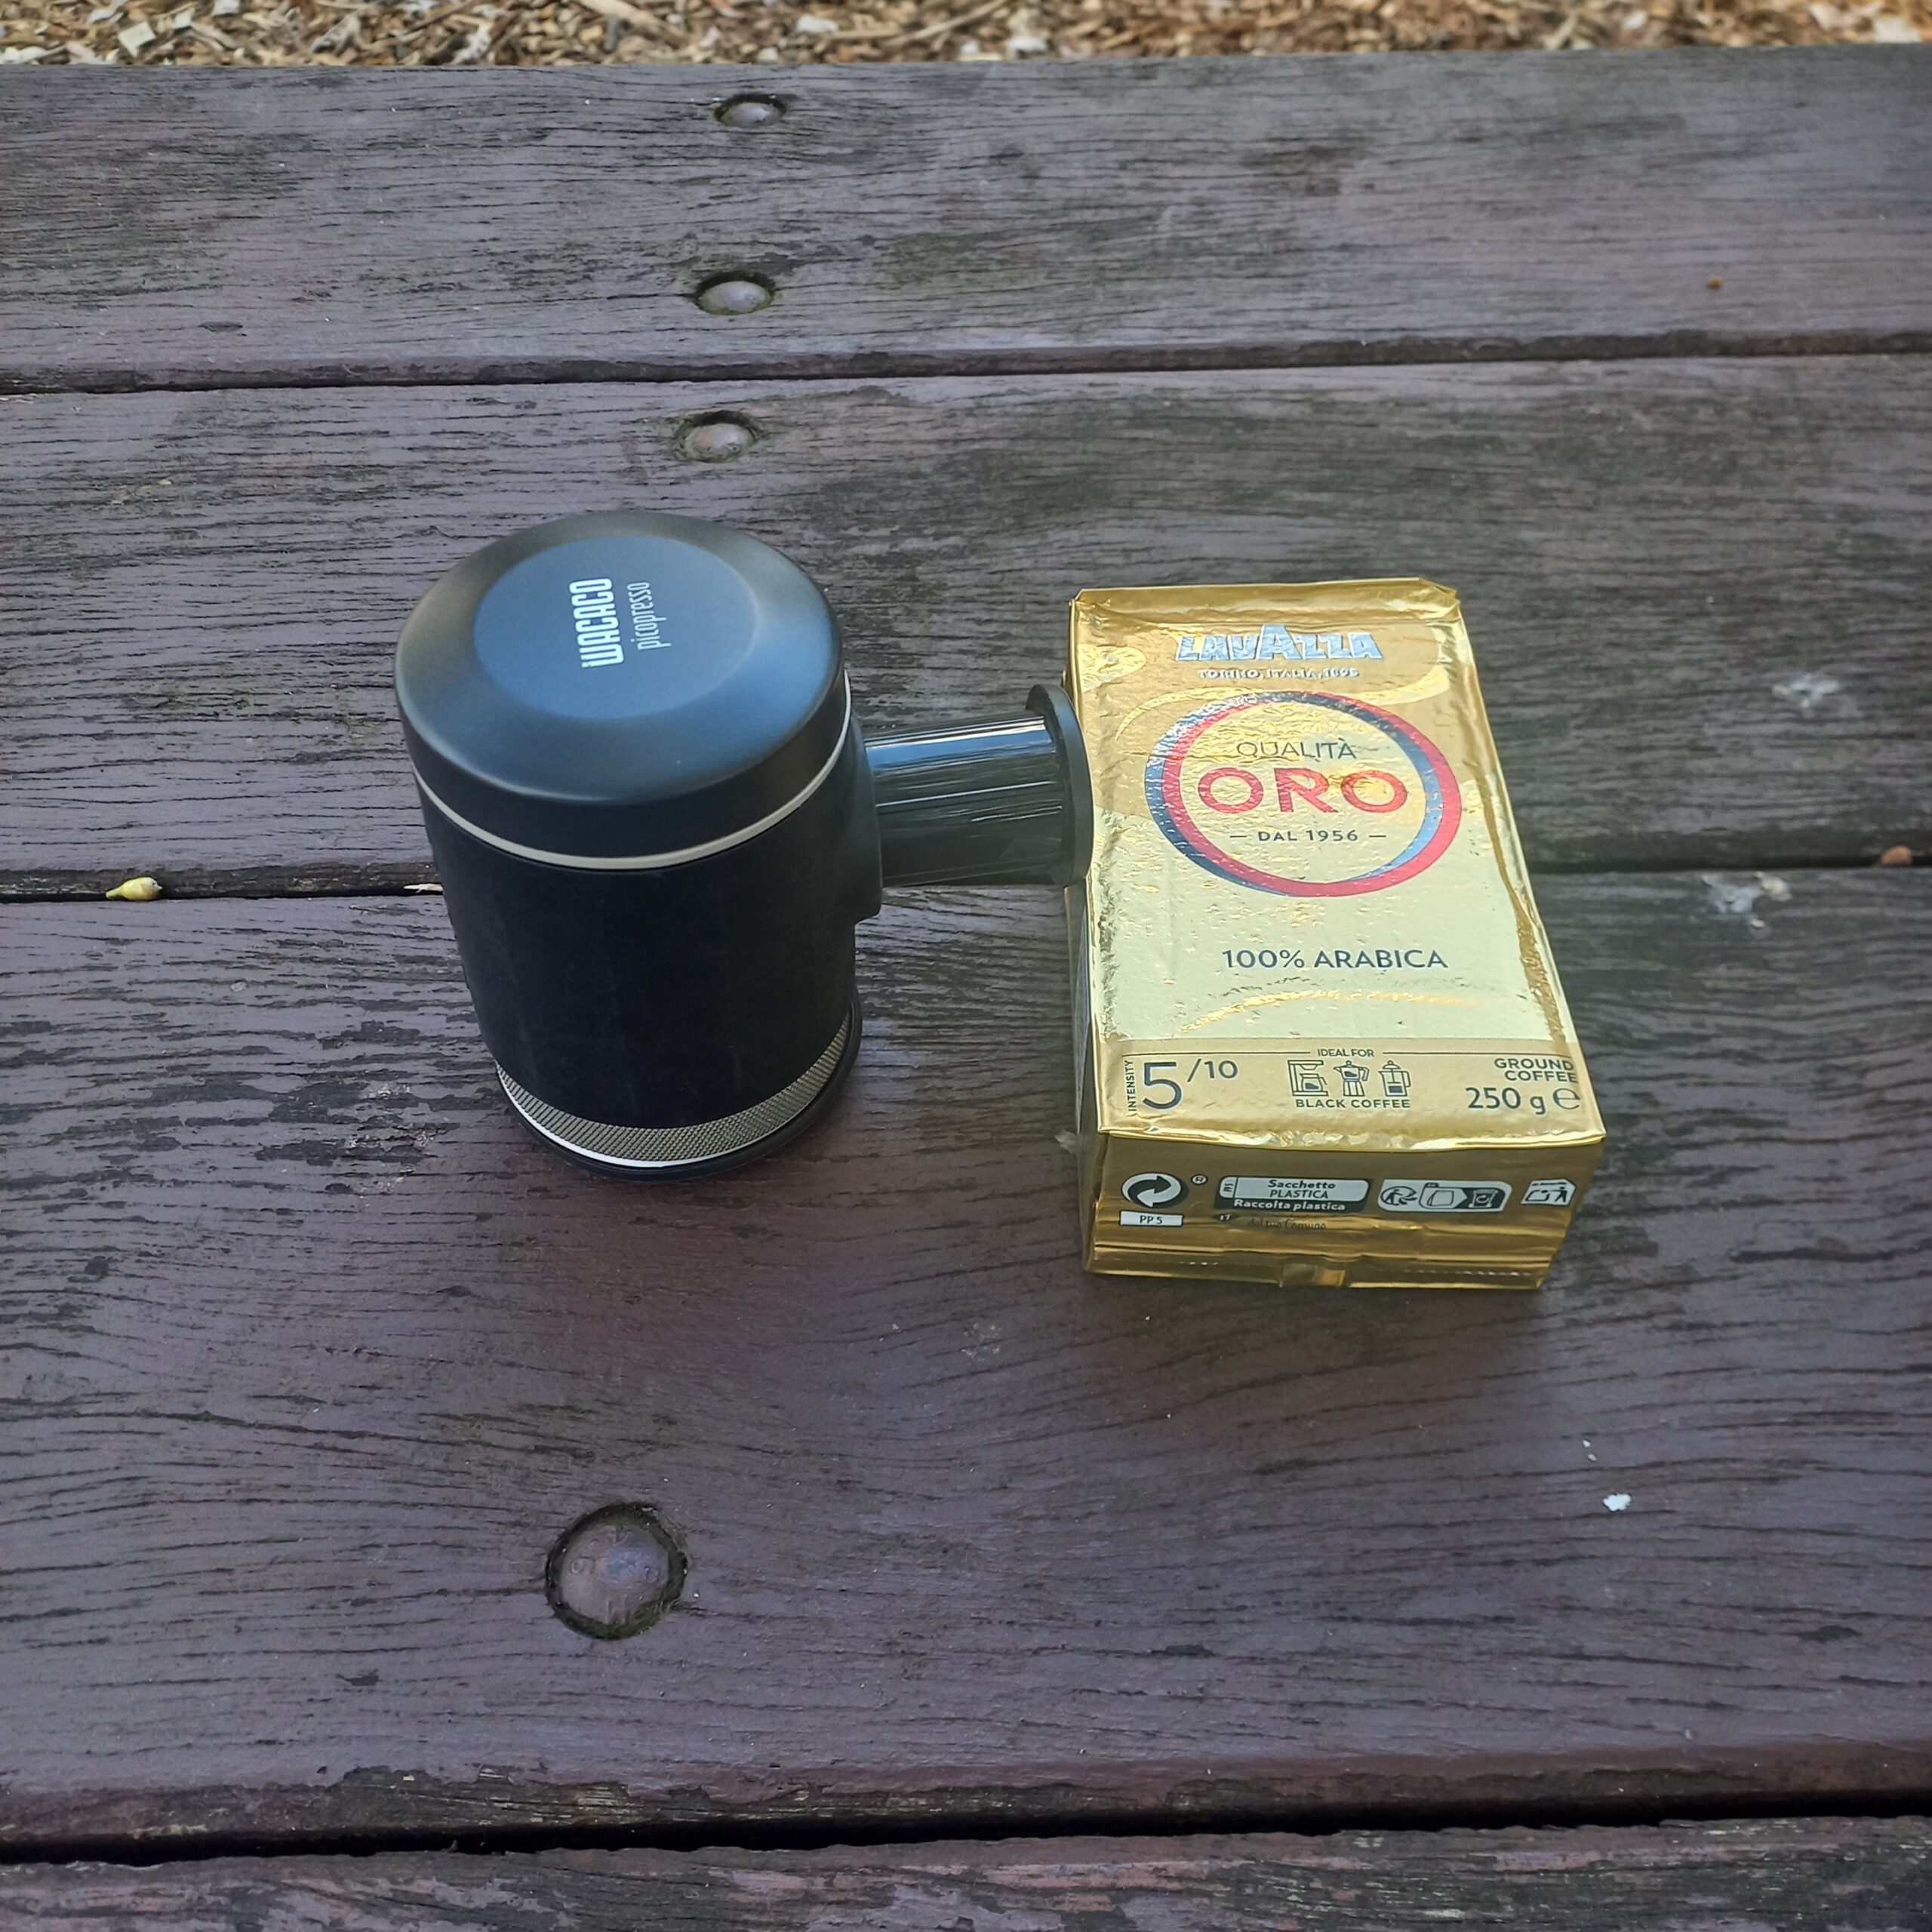
1: Lavazza ground coffee & Picopresso
Many reviewers say that ultra-finely ground coffee is best, but I found out that ultra-finely ground coffee is not. If the grind is too fine, pumping becomes difficult and the shot tastes muddy. I used Lavazza pre-ground coffee for this test, and it worked perfectly for my Picopresso.
When you can’t grind fresh, this is the practical solution. And yes, always check the roasted-on date when you buy it.
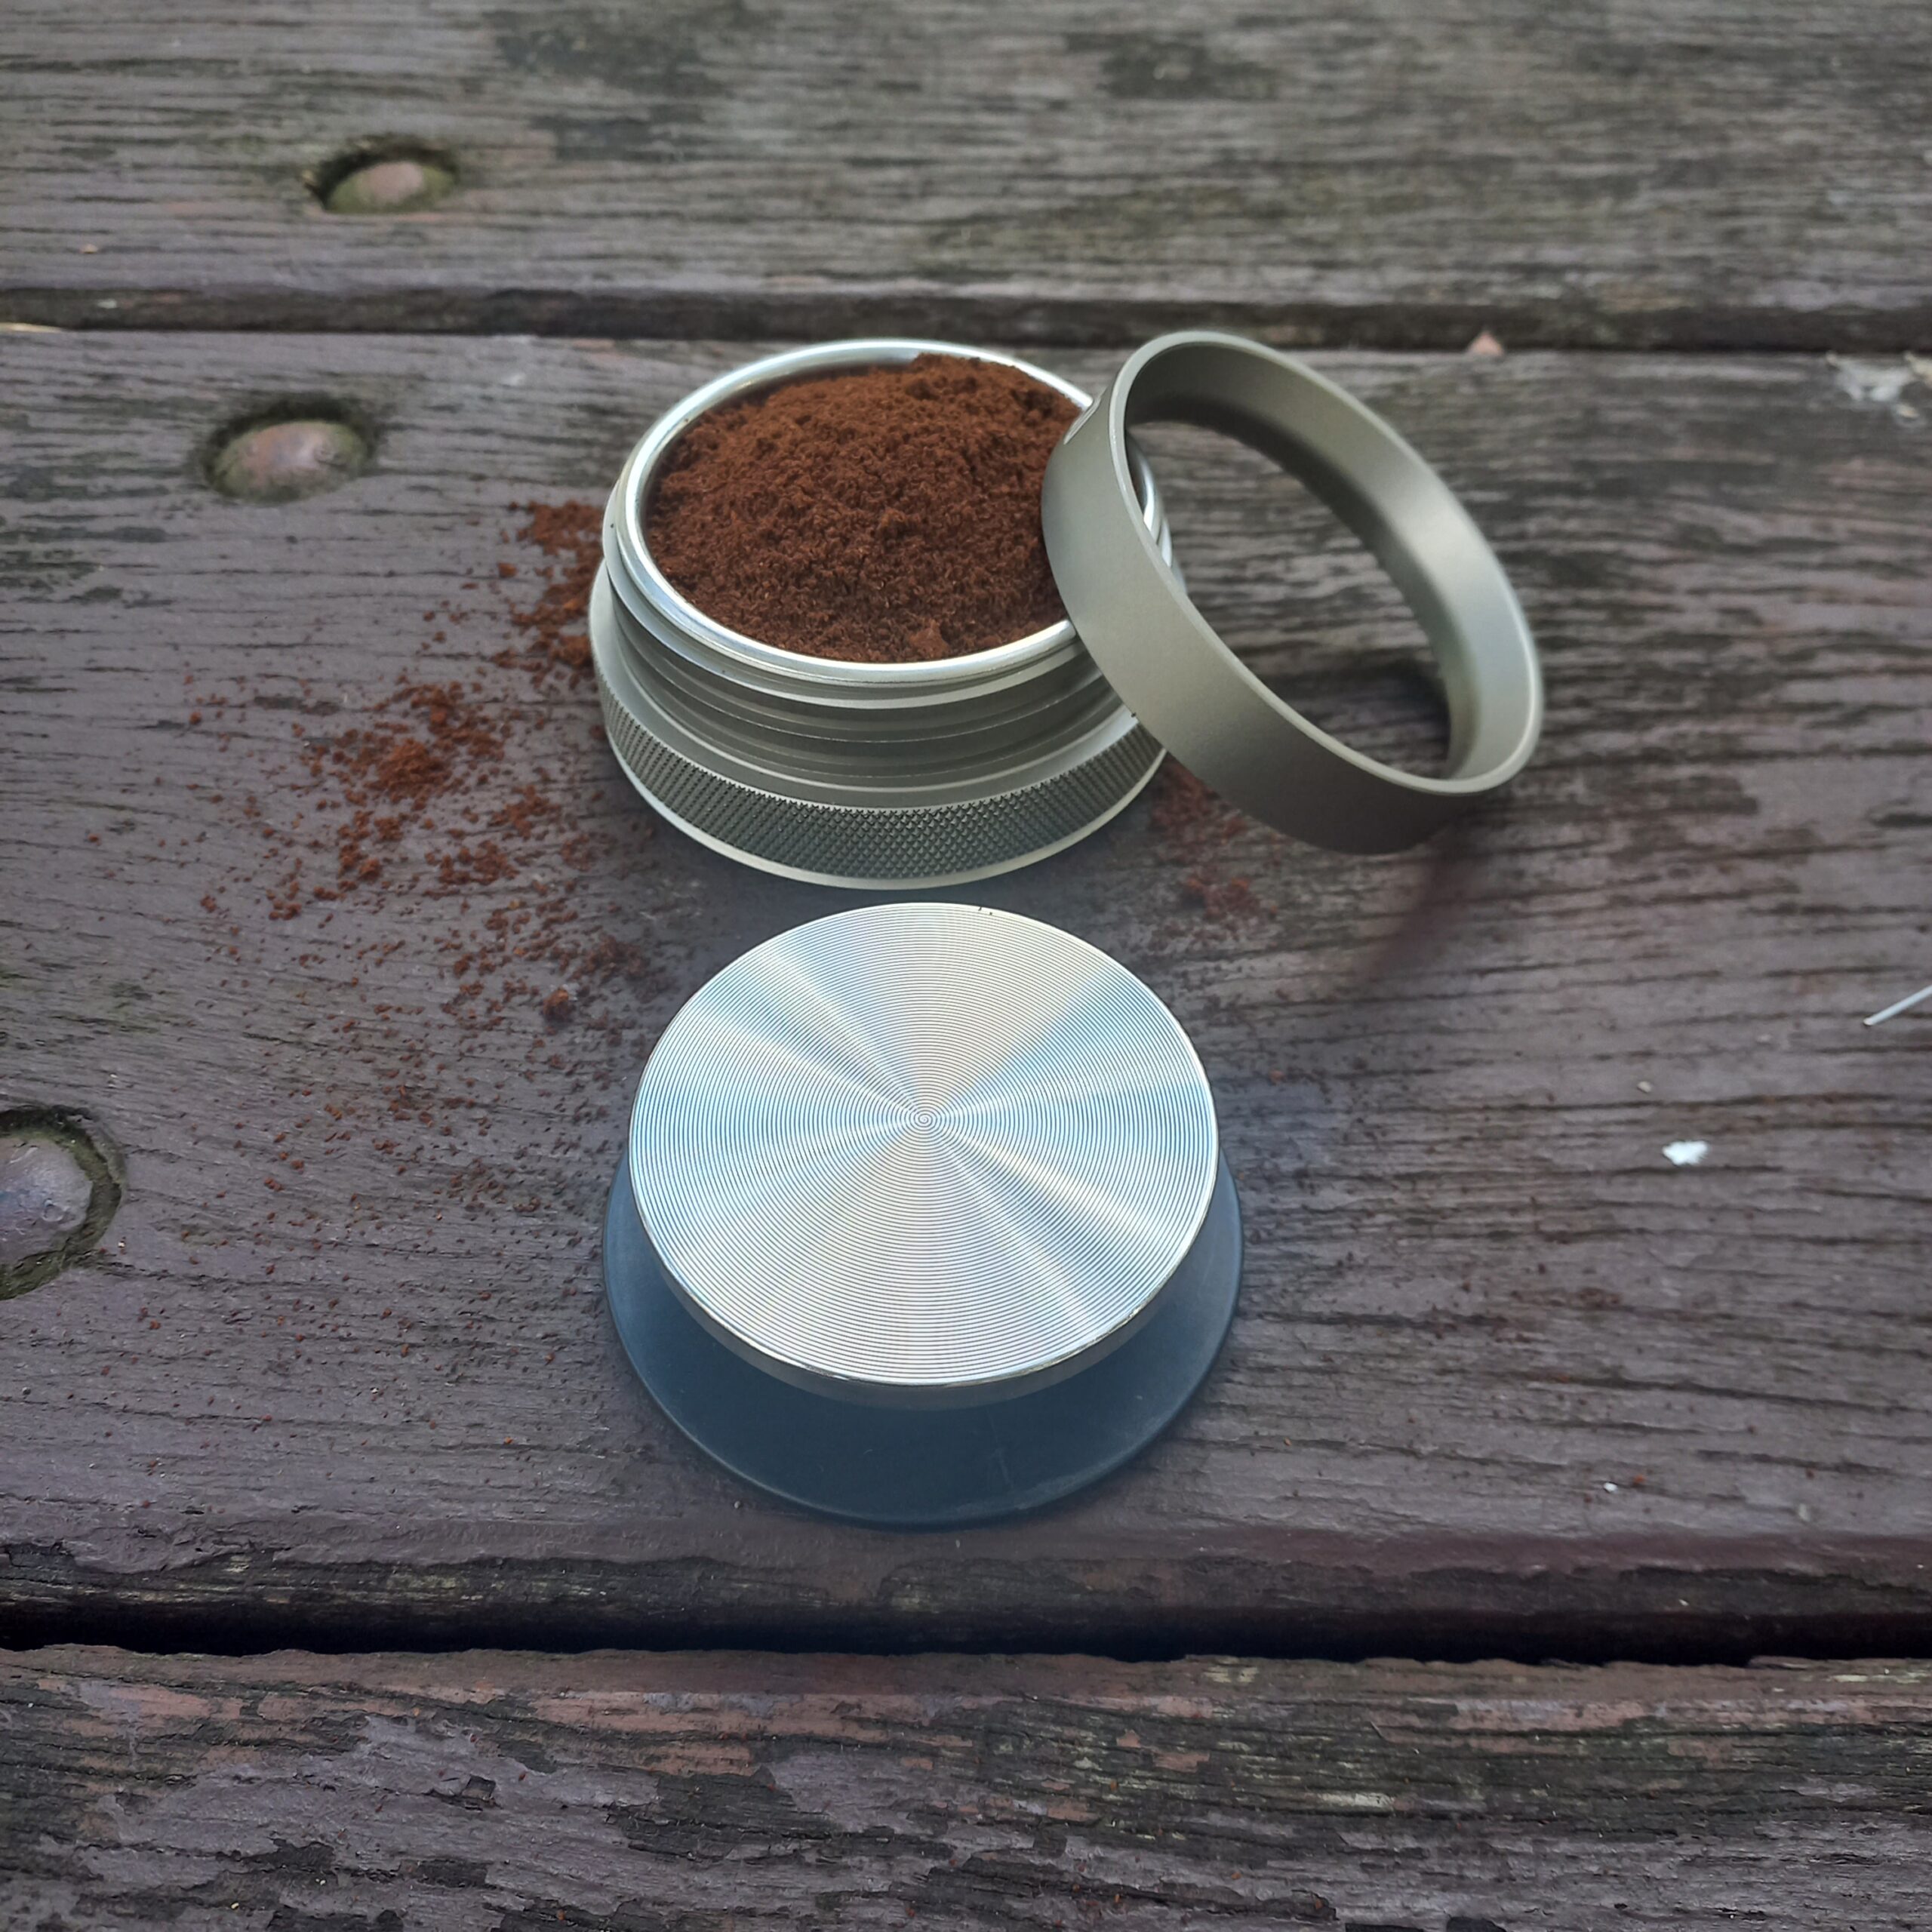
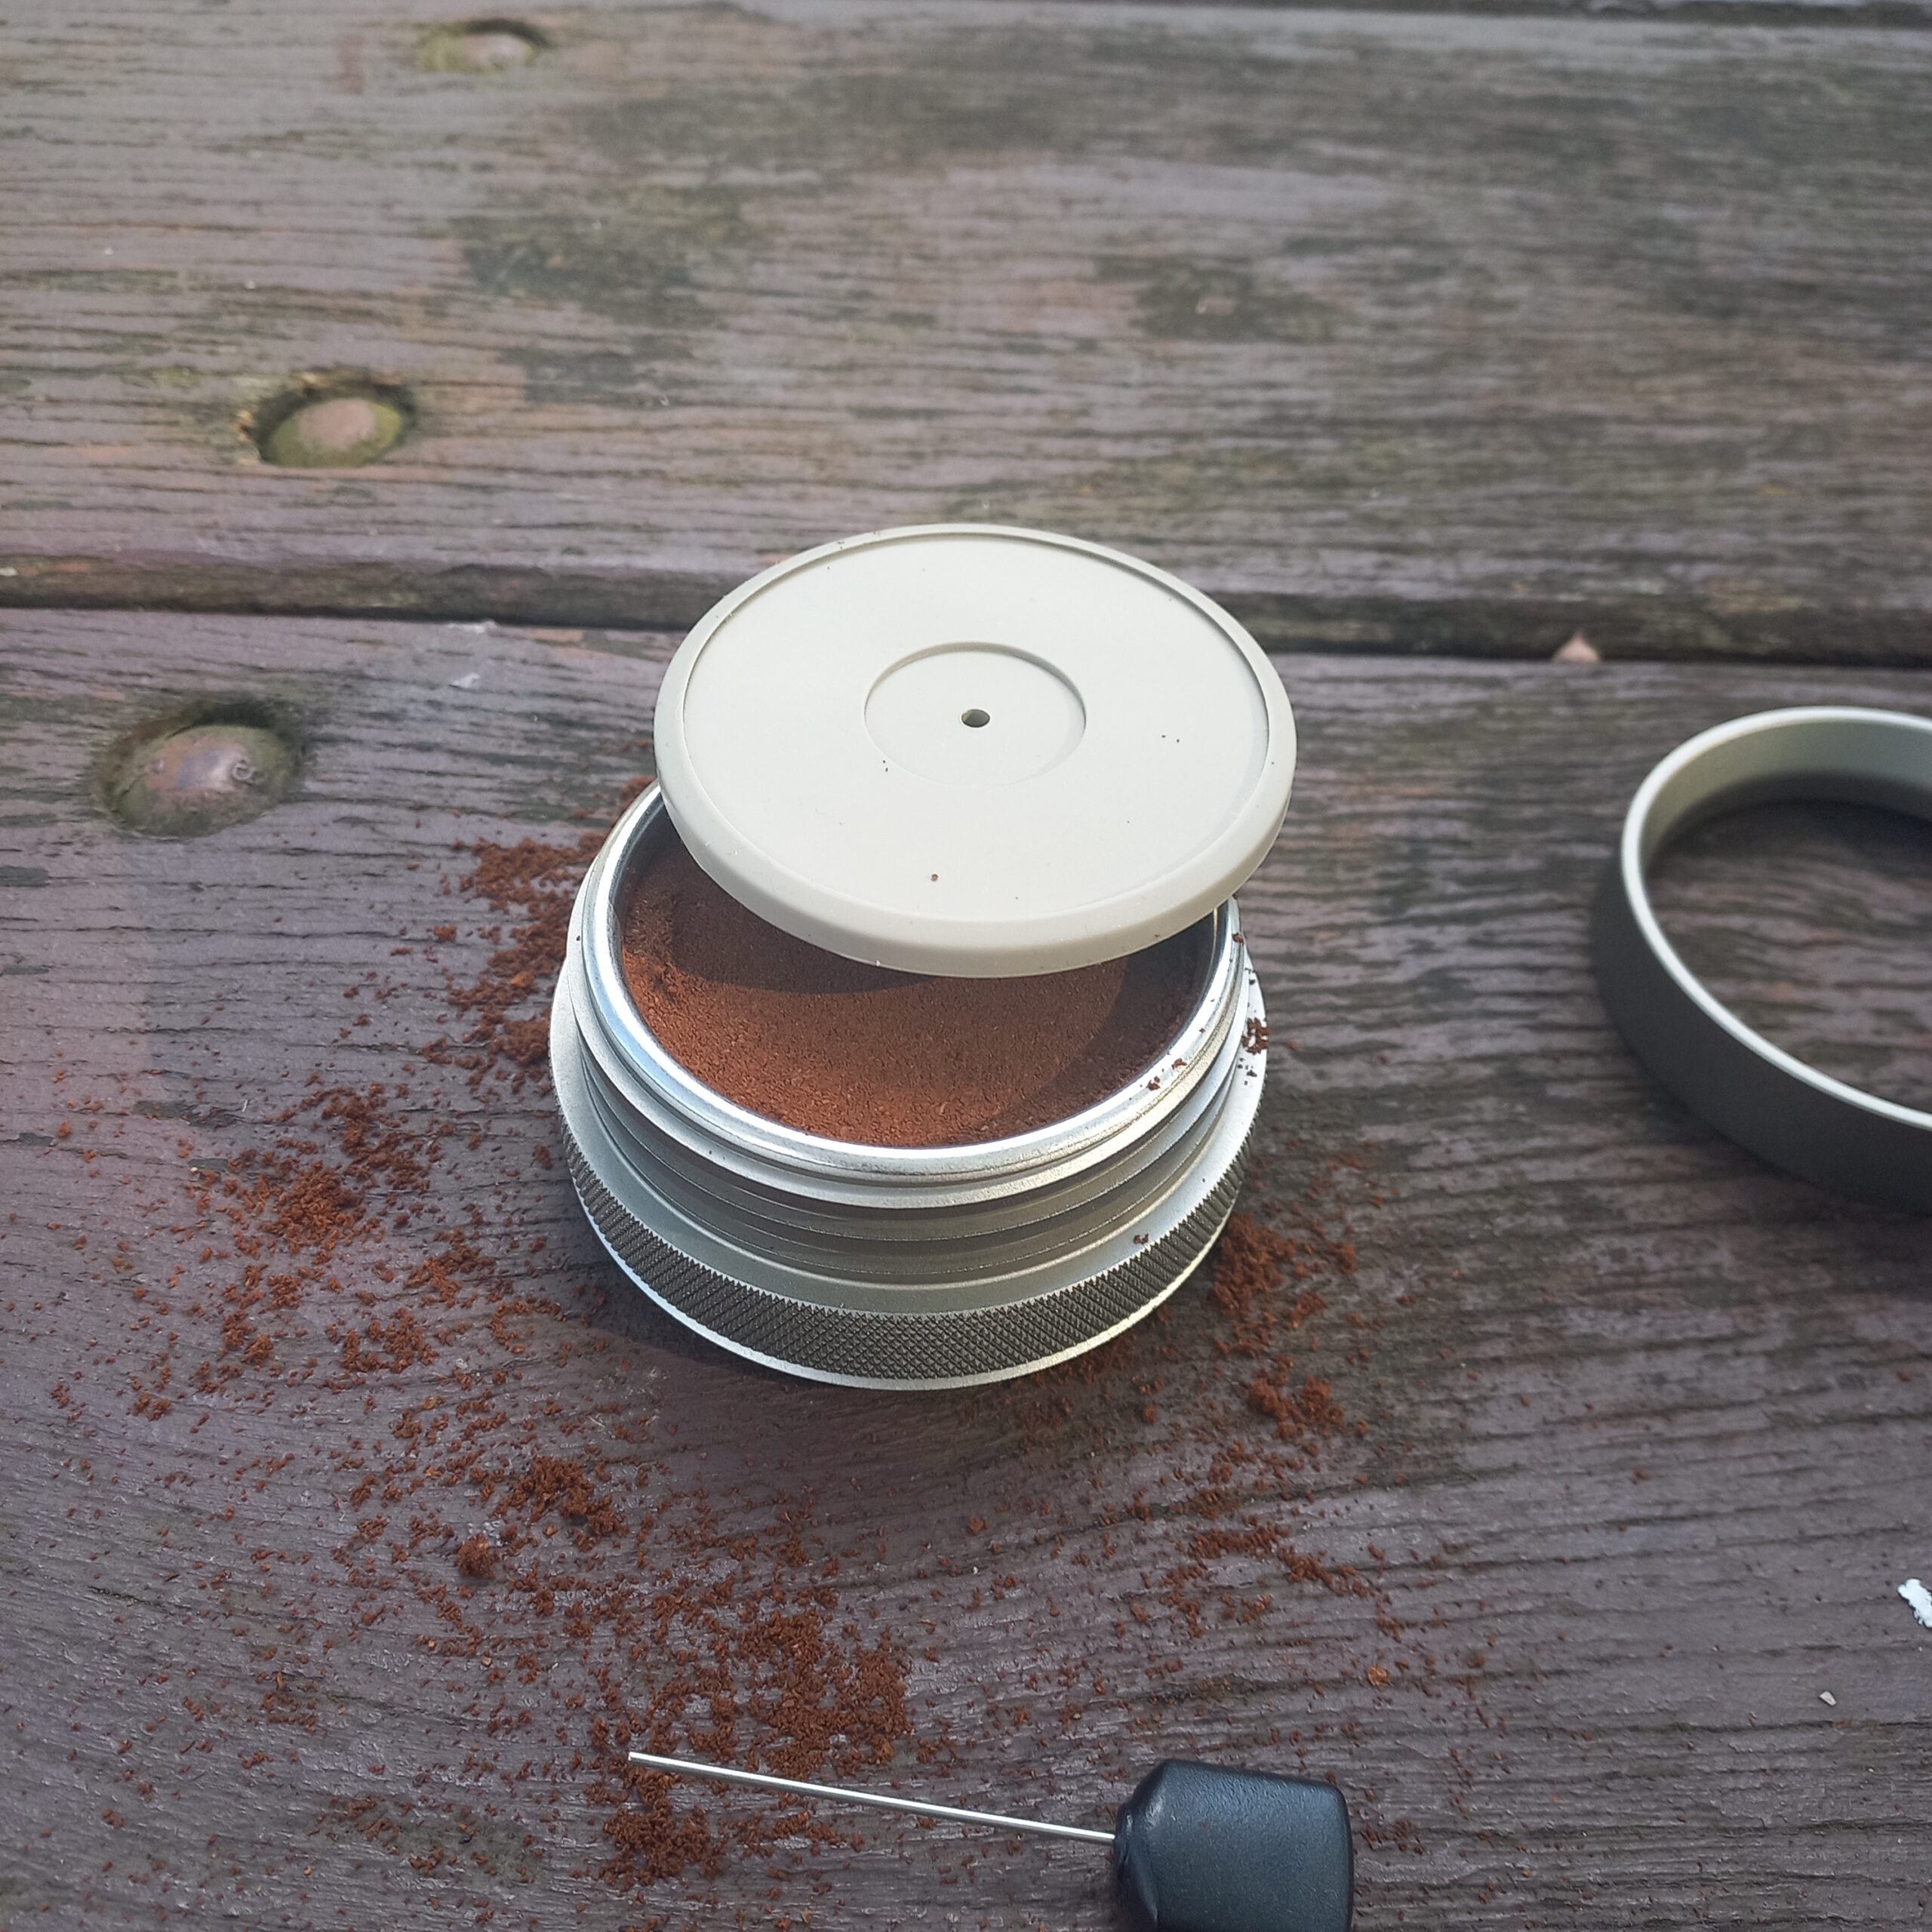
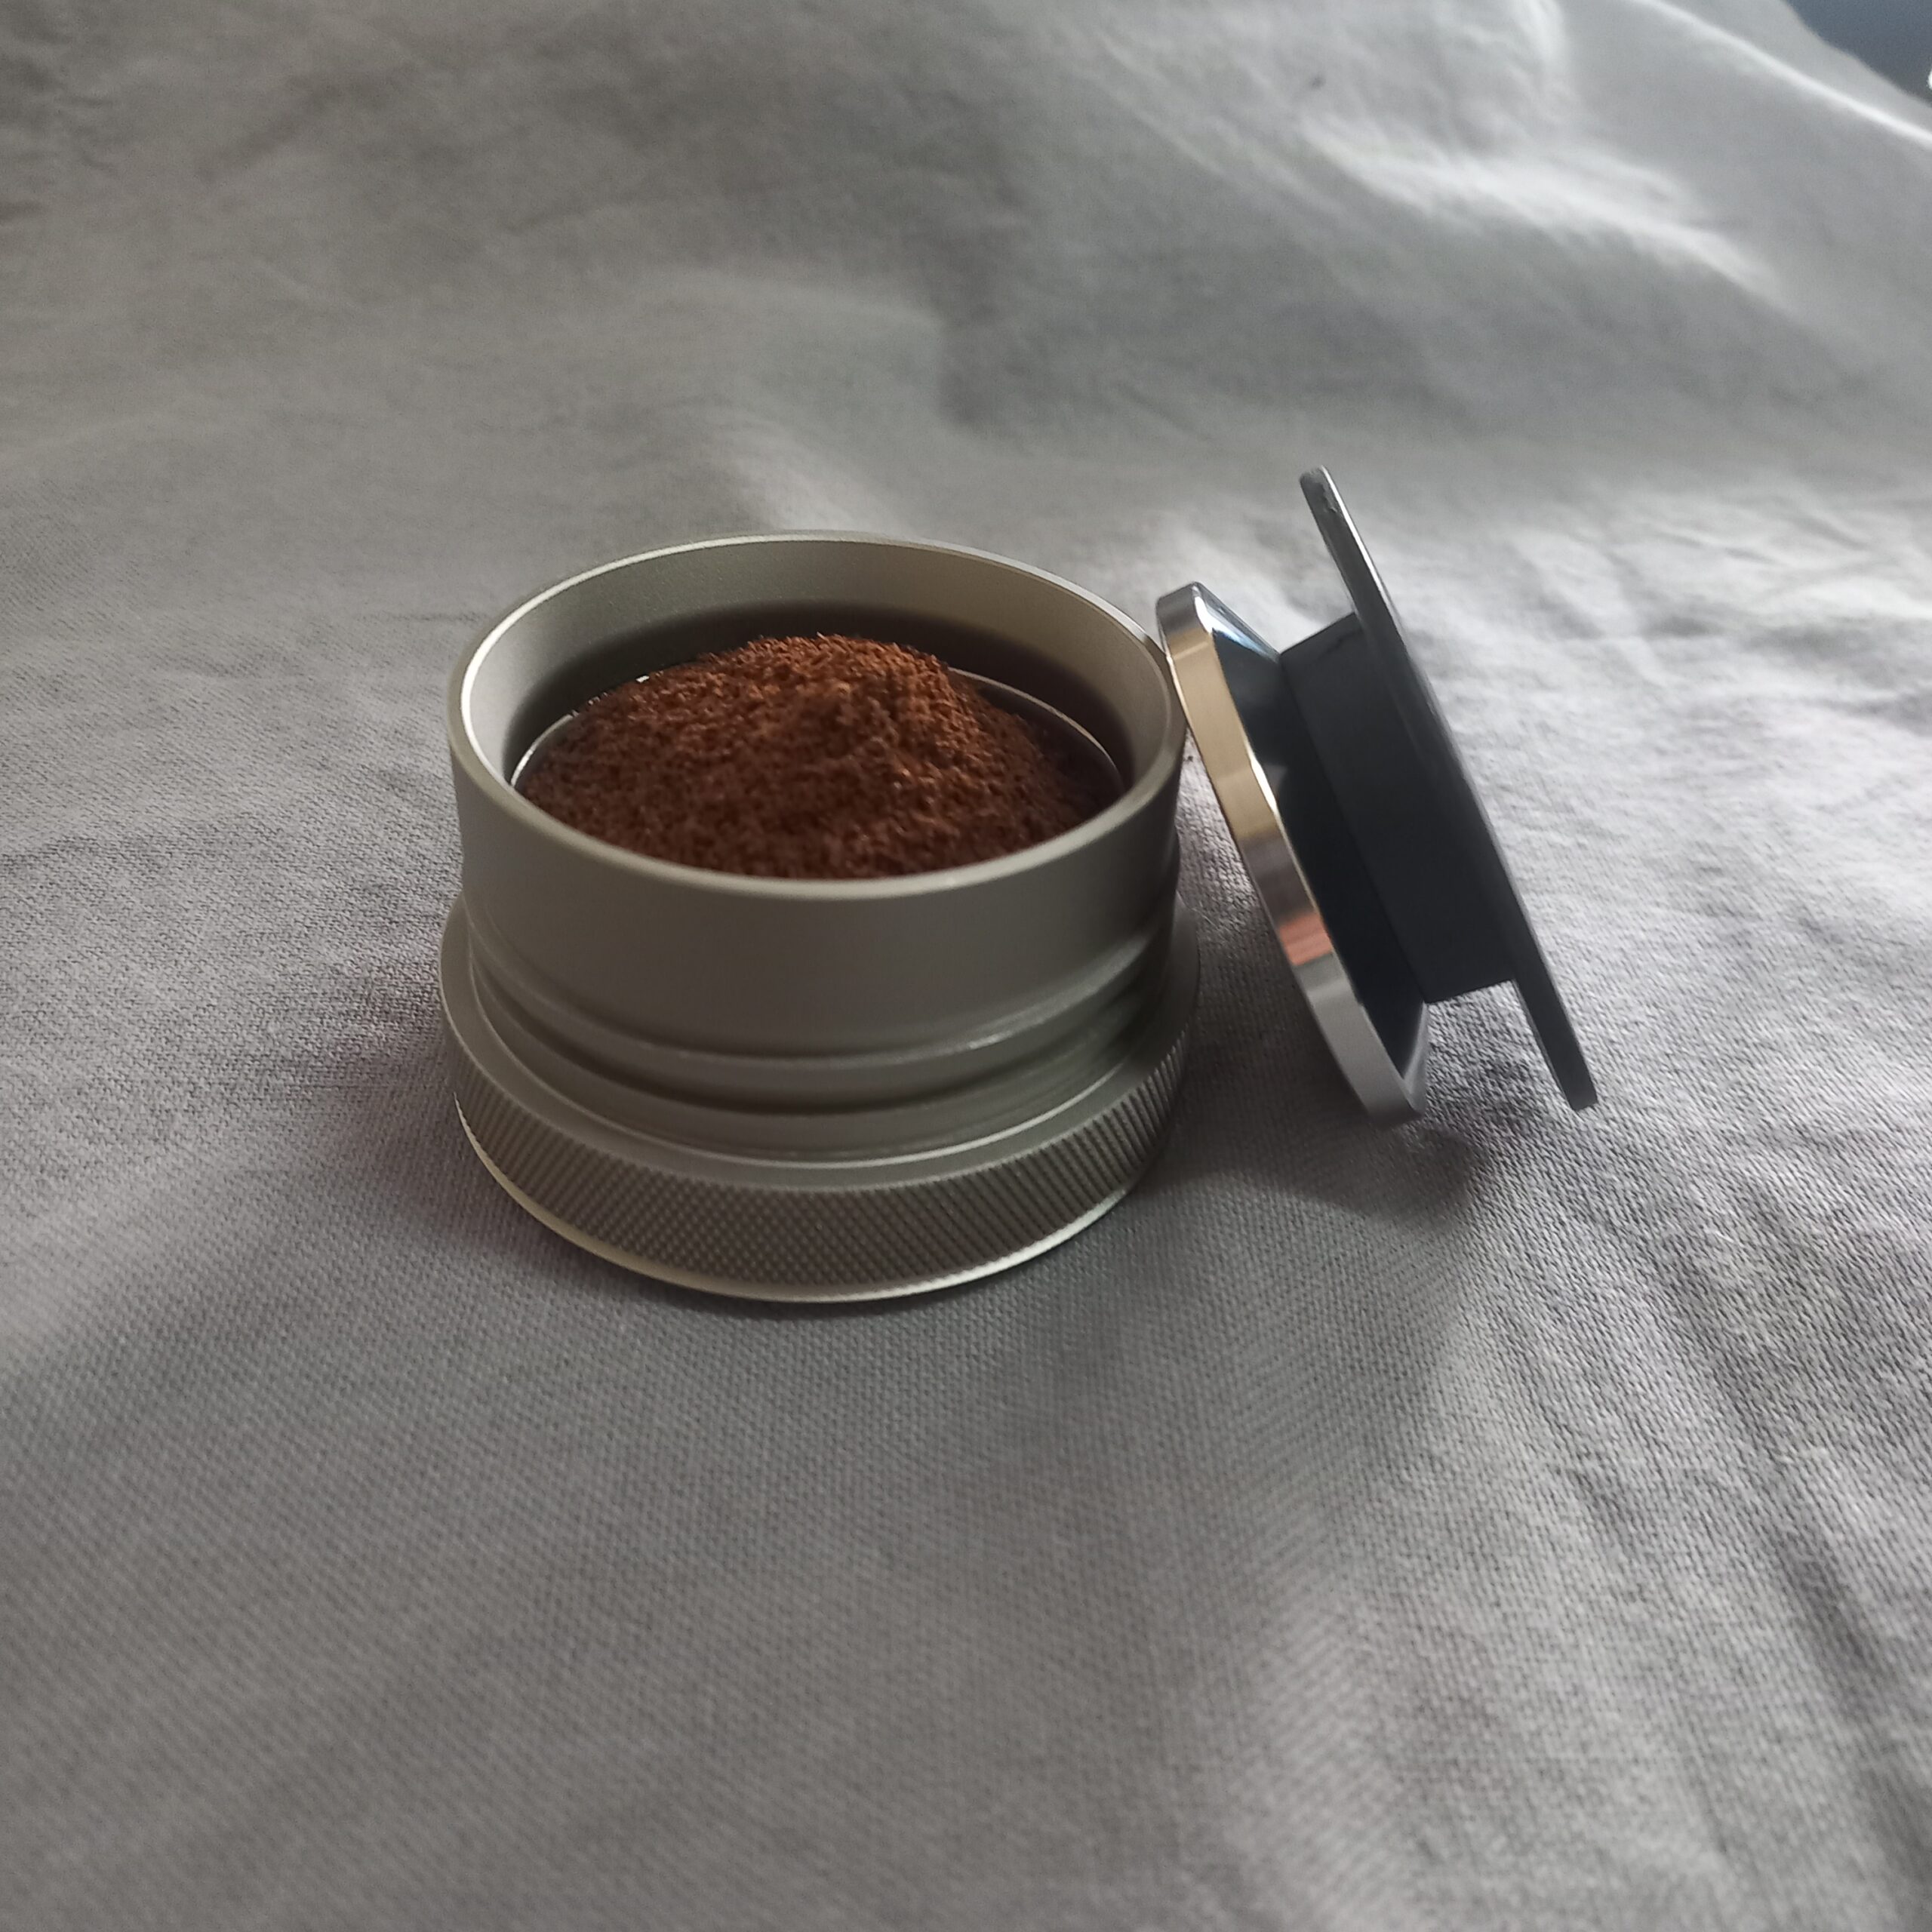
2: Even Tamping Like a Barista
As shown in the photo, the coffee basket should be filled right amount(18g) before tamping.
The Picopresso’s funnel helps guide the coffee into the basket cleanly and makes tamping much easier. It helps create a level surface without worrying too much about angle or pressure.
I was honestly impressed by how precise the tamping process feels for such a compact device.
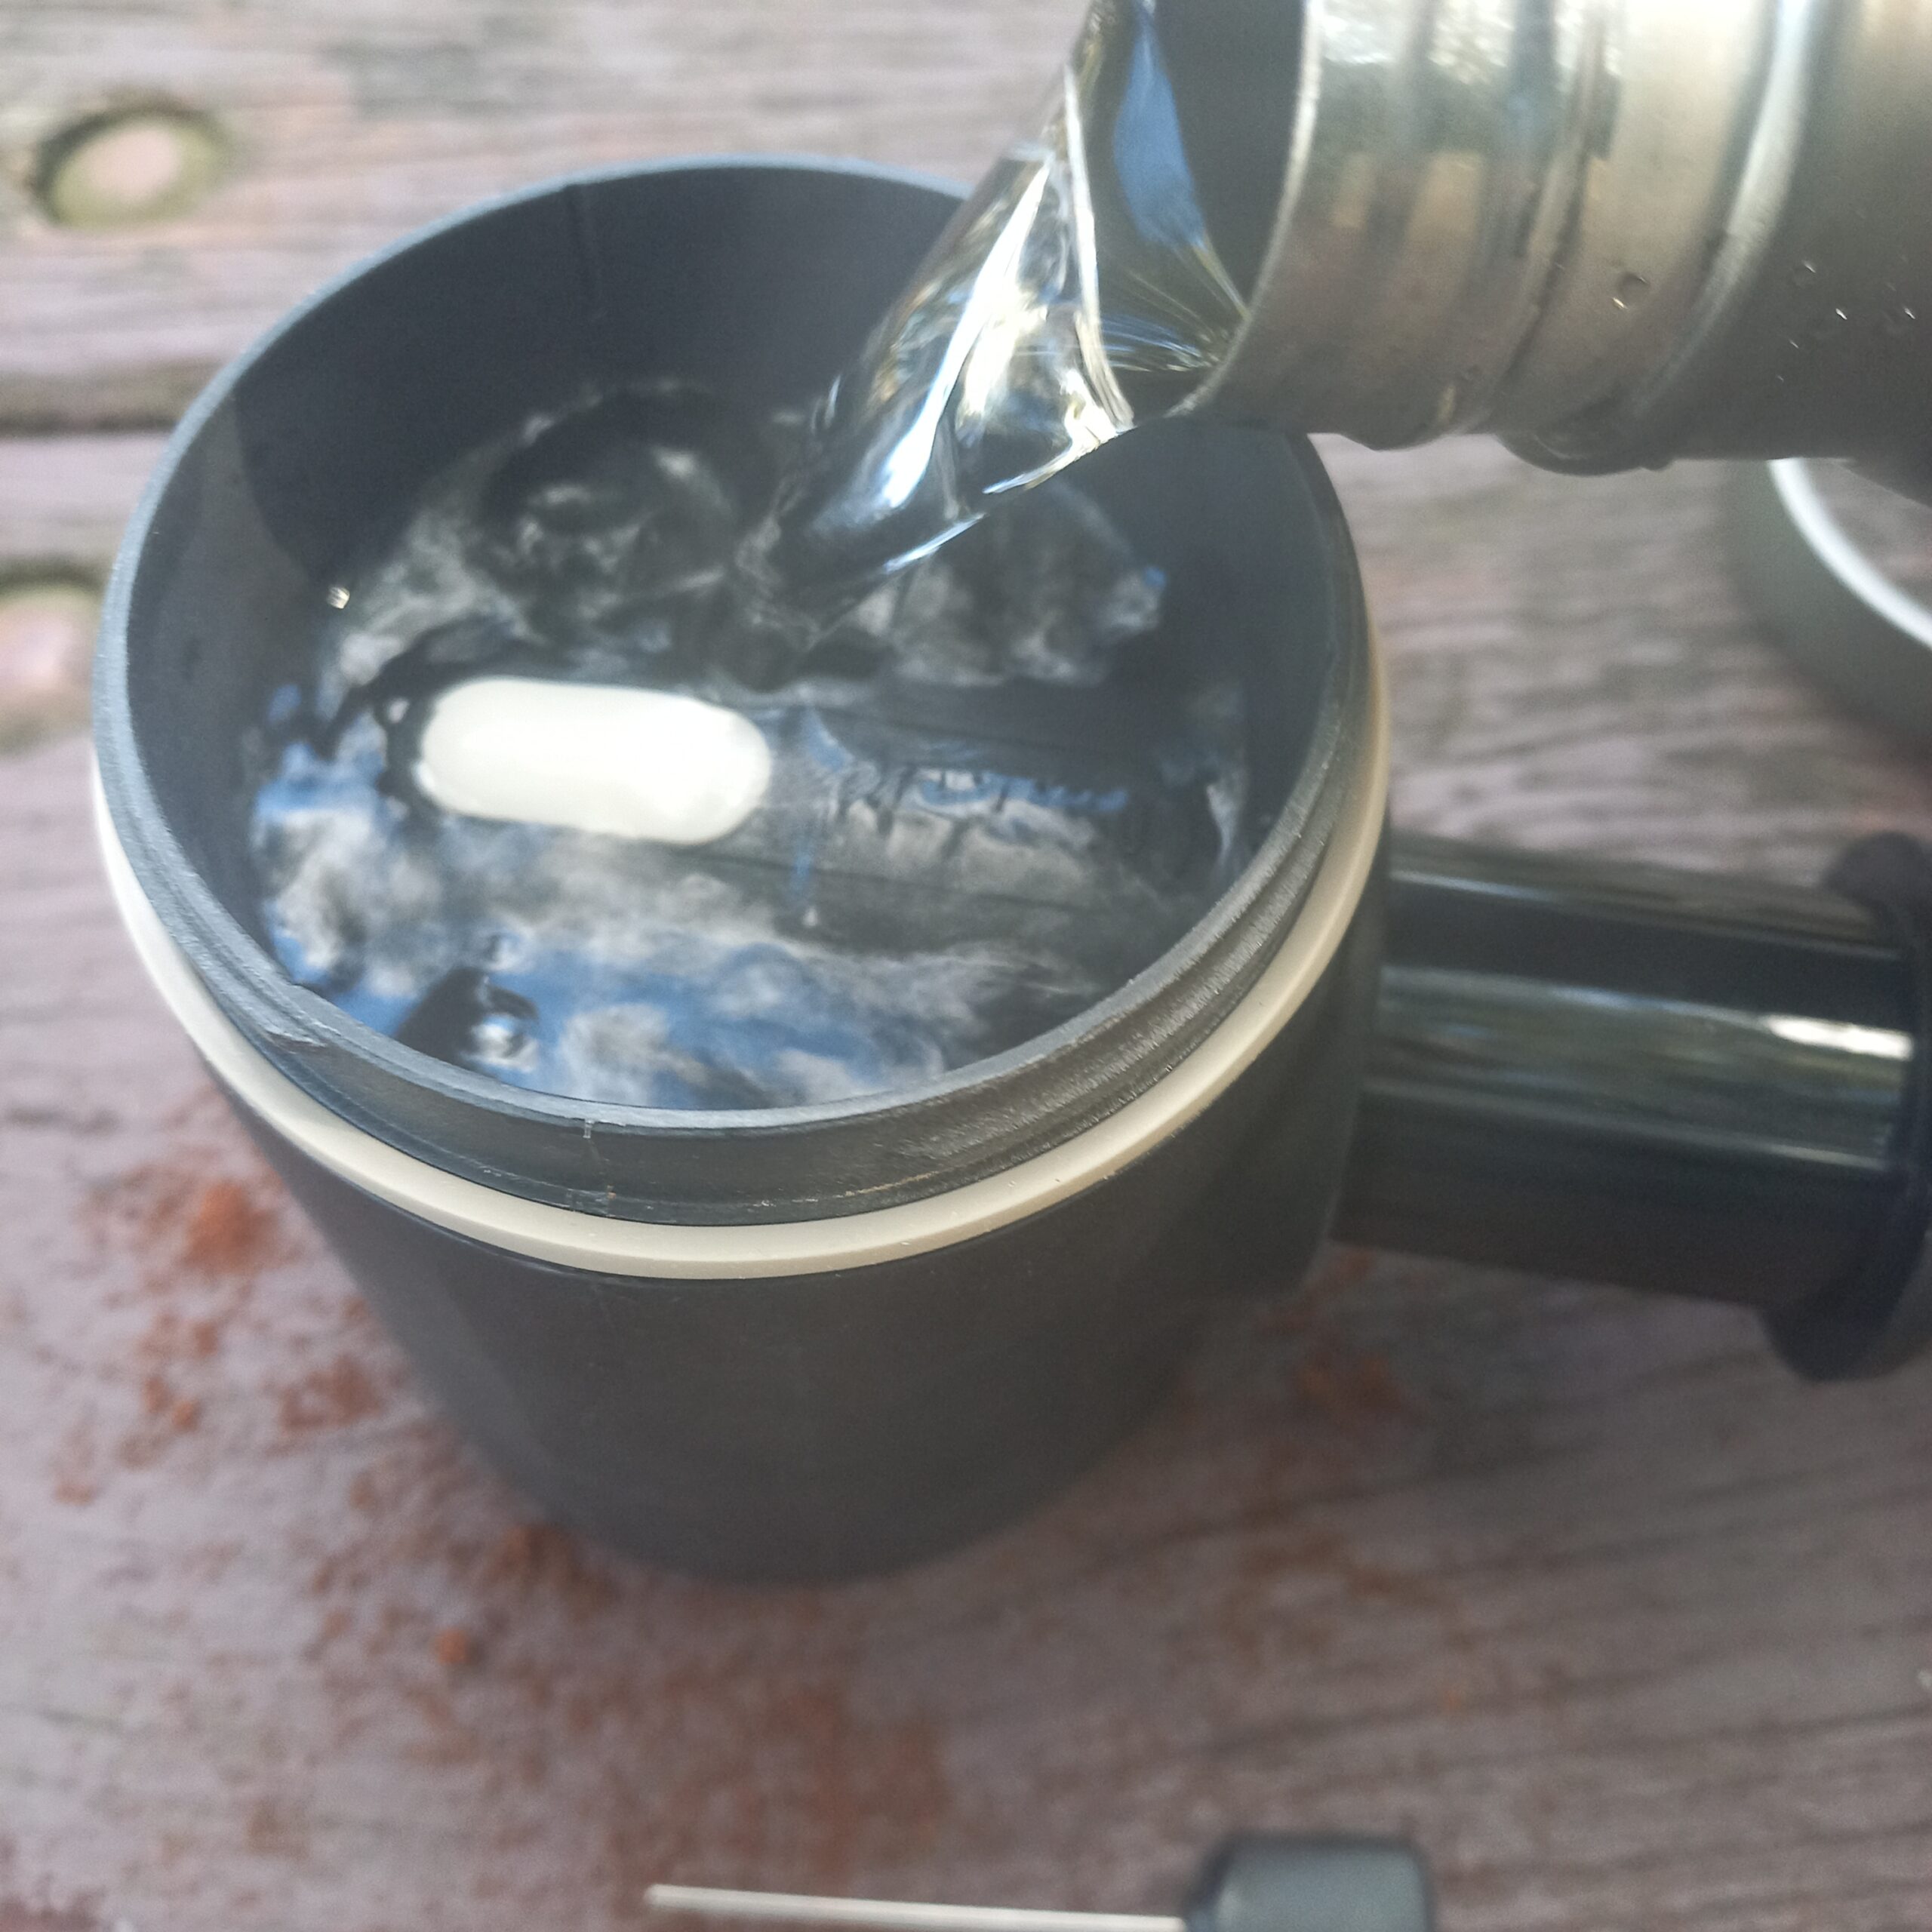
3: Pre-Heating
Before brewing, fill the water chamber with hot water and pump around 10 strokes to pre-heat the system.
Very hot water works best with the Picopresso, especially outdoors or in colder environments.
Hostel kettles and camping stoves both worked well during my trips.
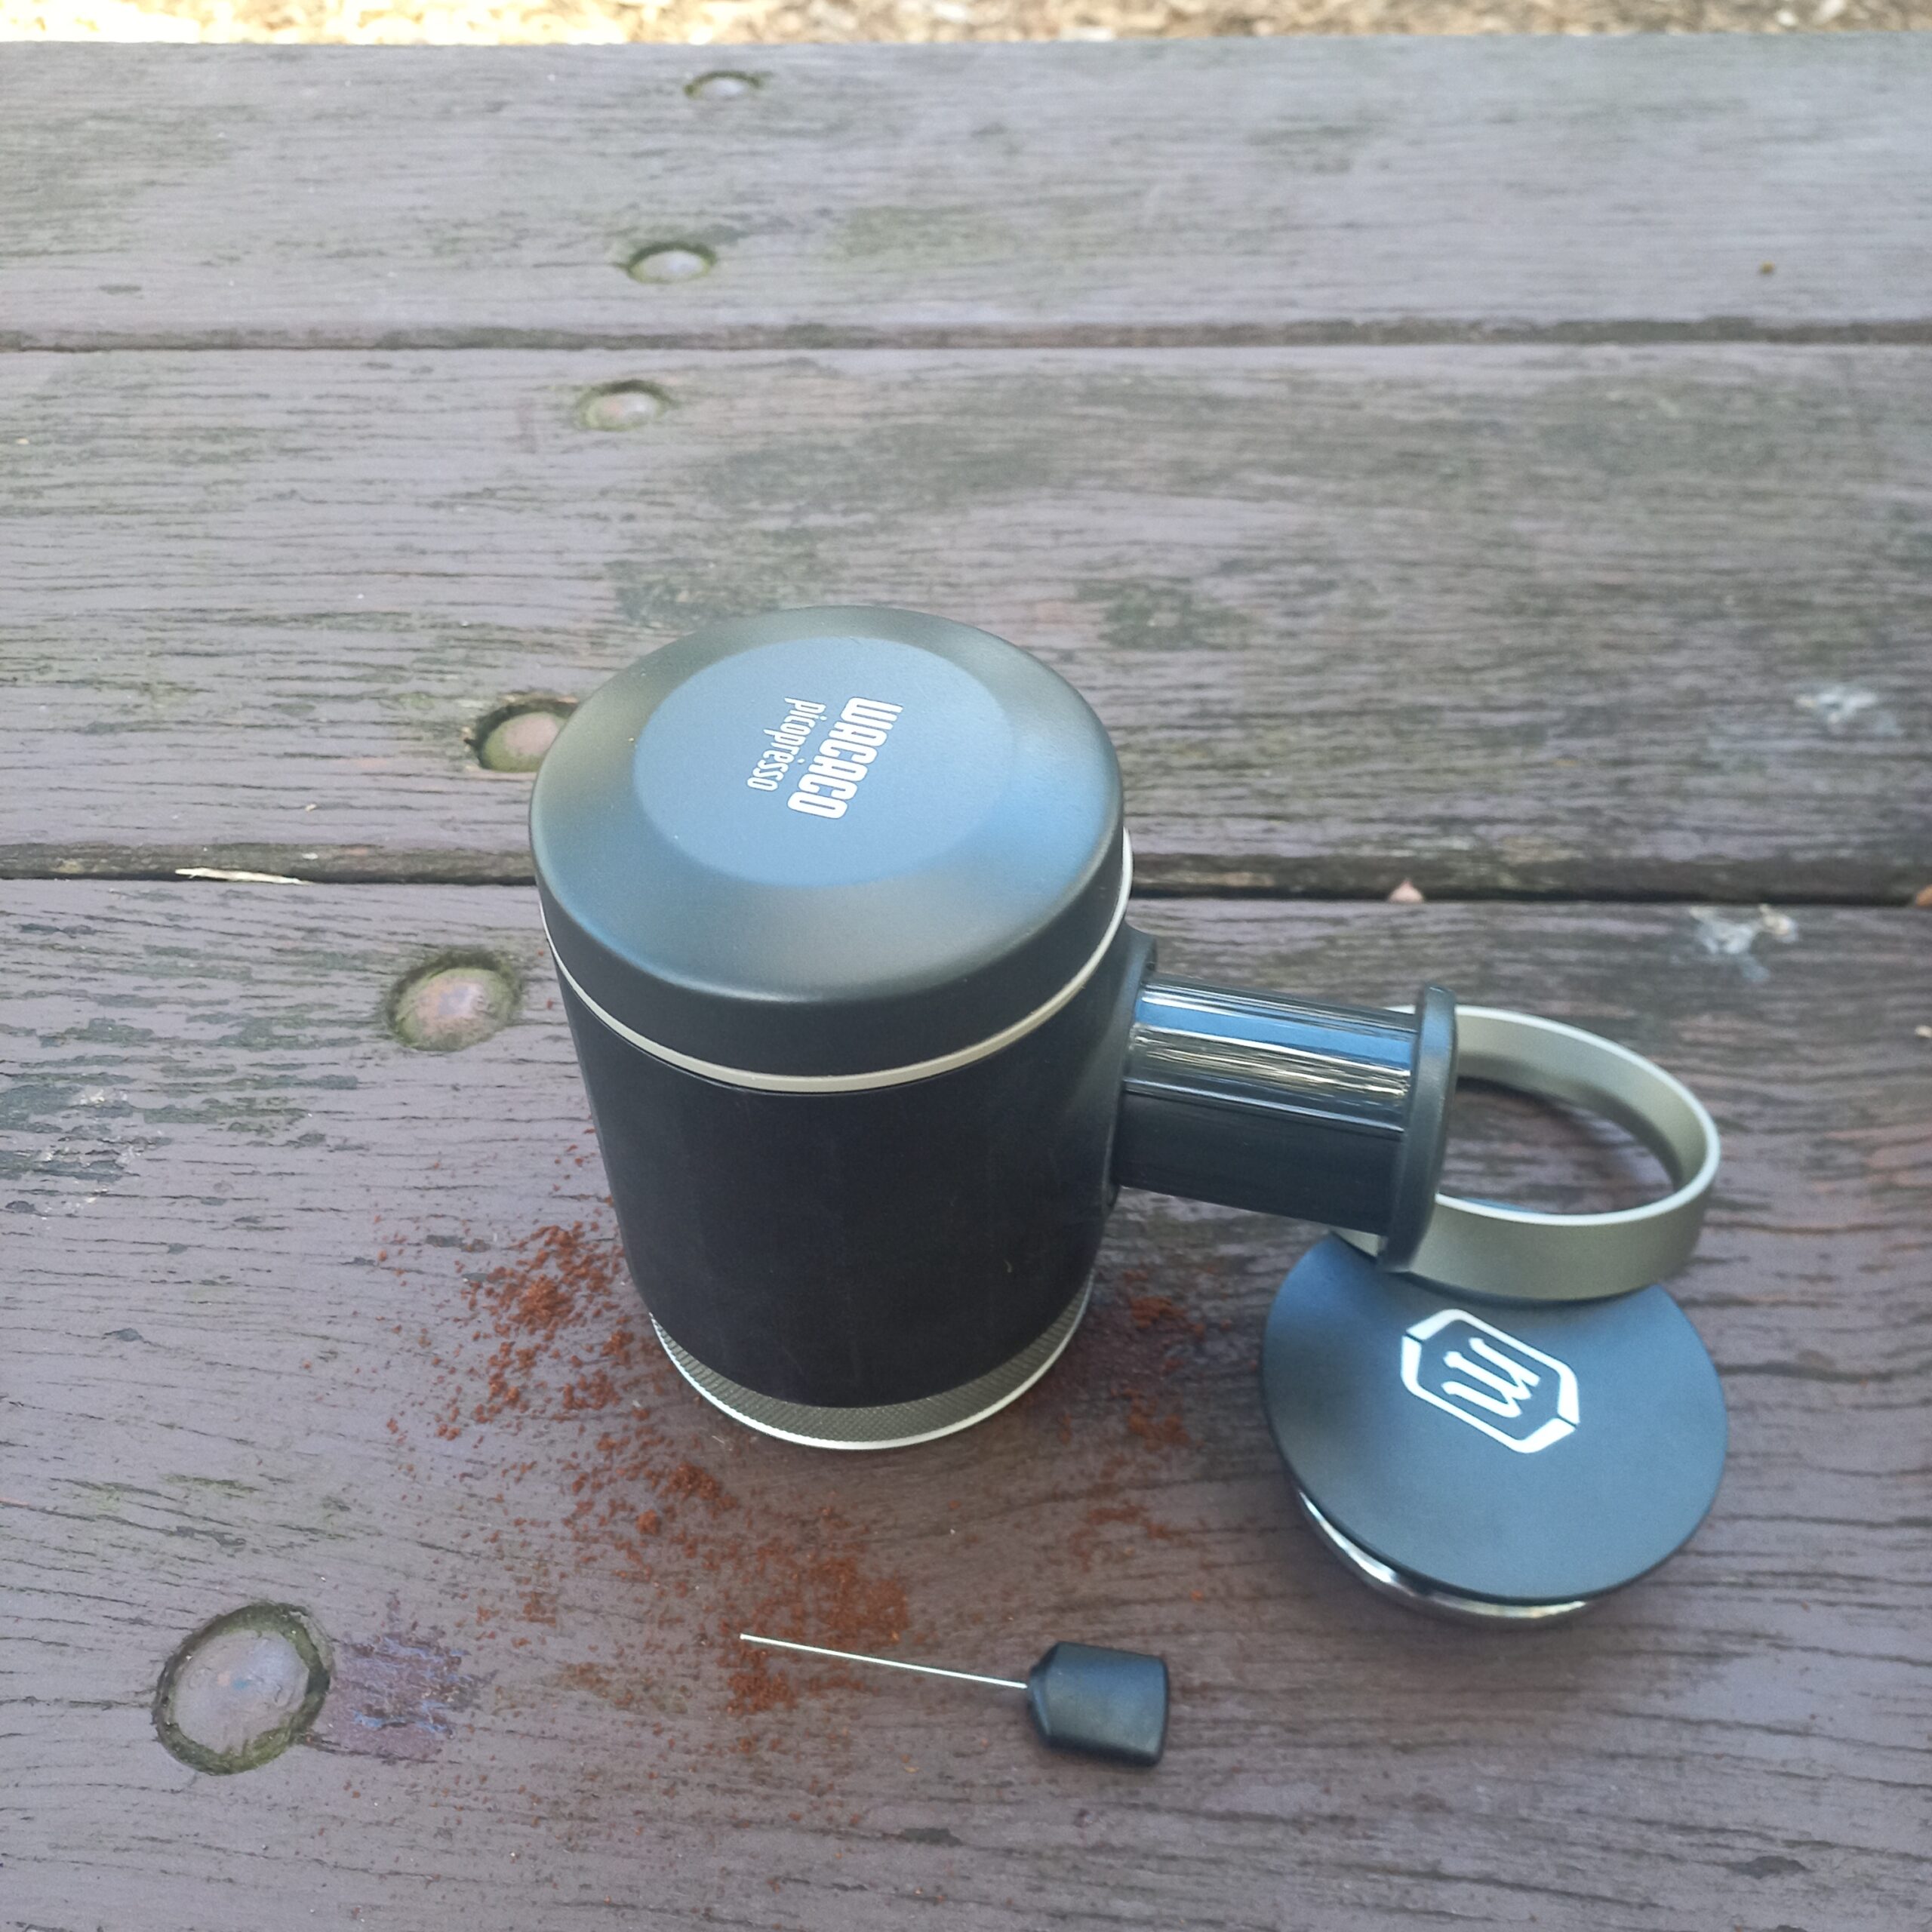
4: Attach
Attach the portafilter to the water tank.
5: The pre-infusion
Pour hot water into the tank, close the lid, pump 8–10 strokes, then pause for 10–20 seconds.
This pre-infusion step helps the coffee bloom before full extraction begins and noticeably improves shot quality.
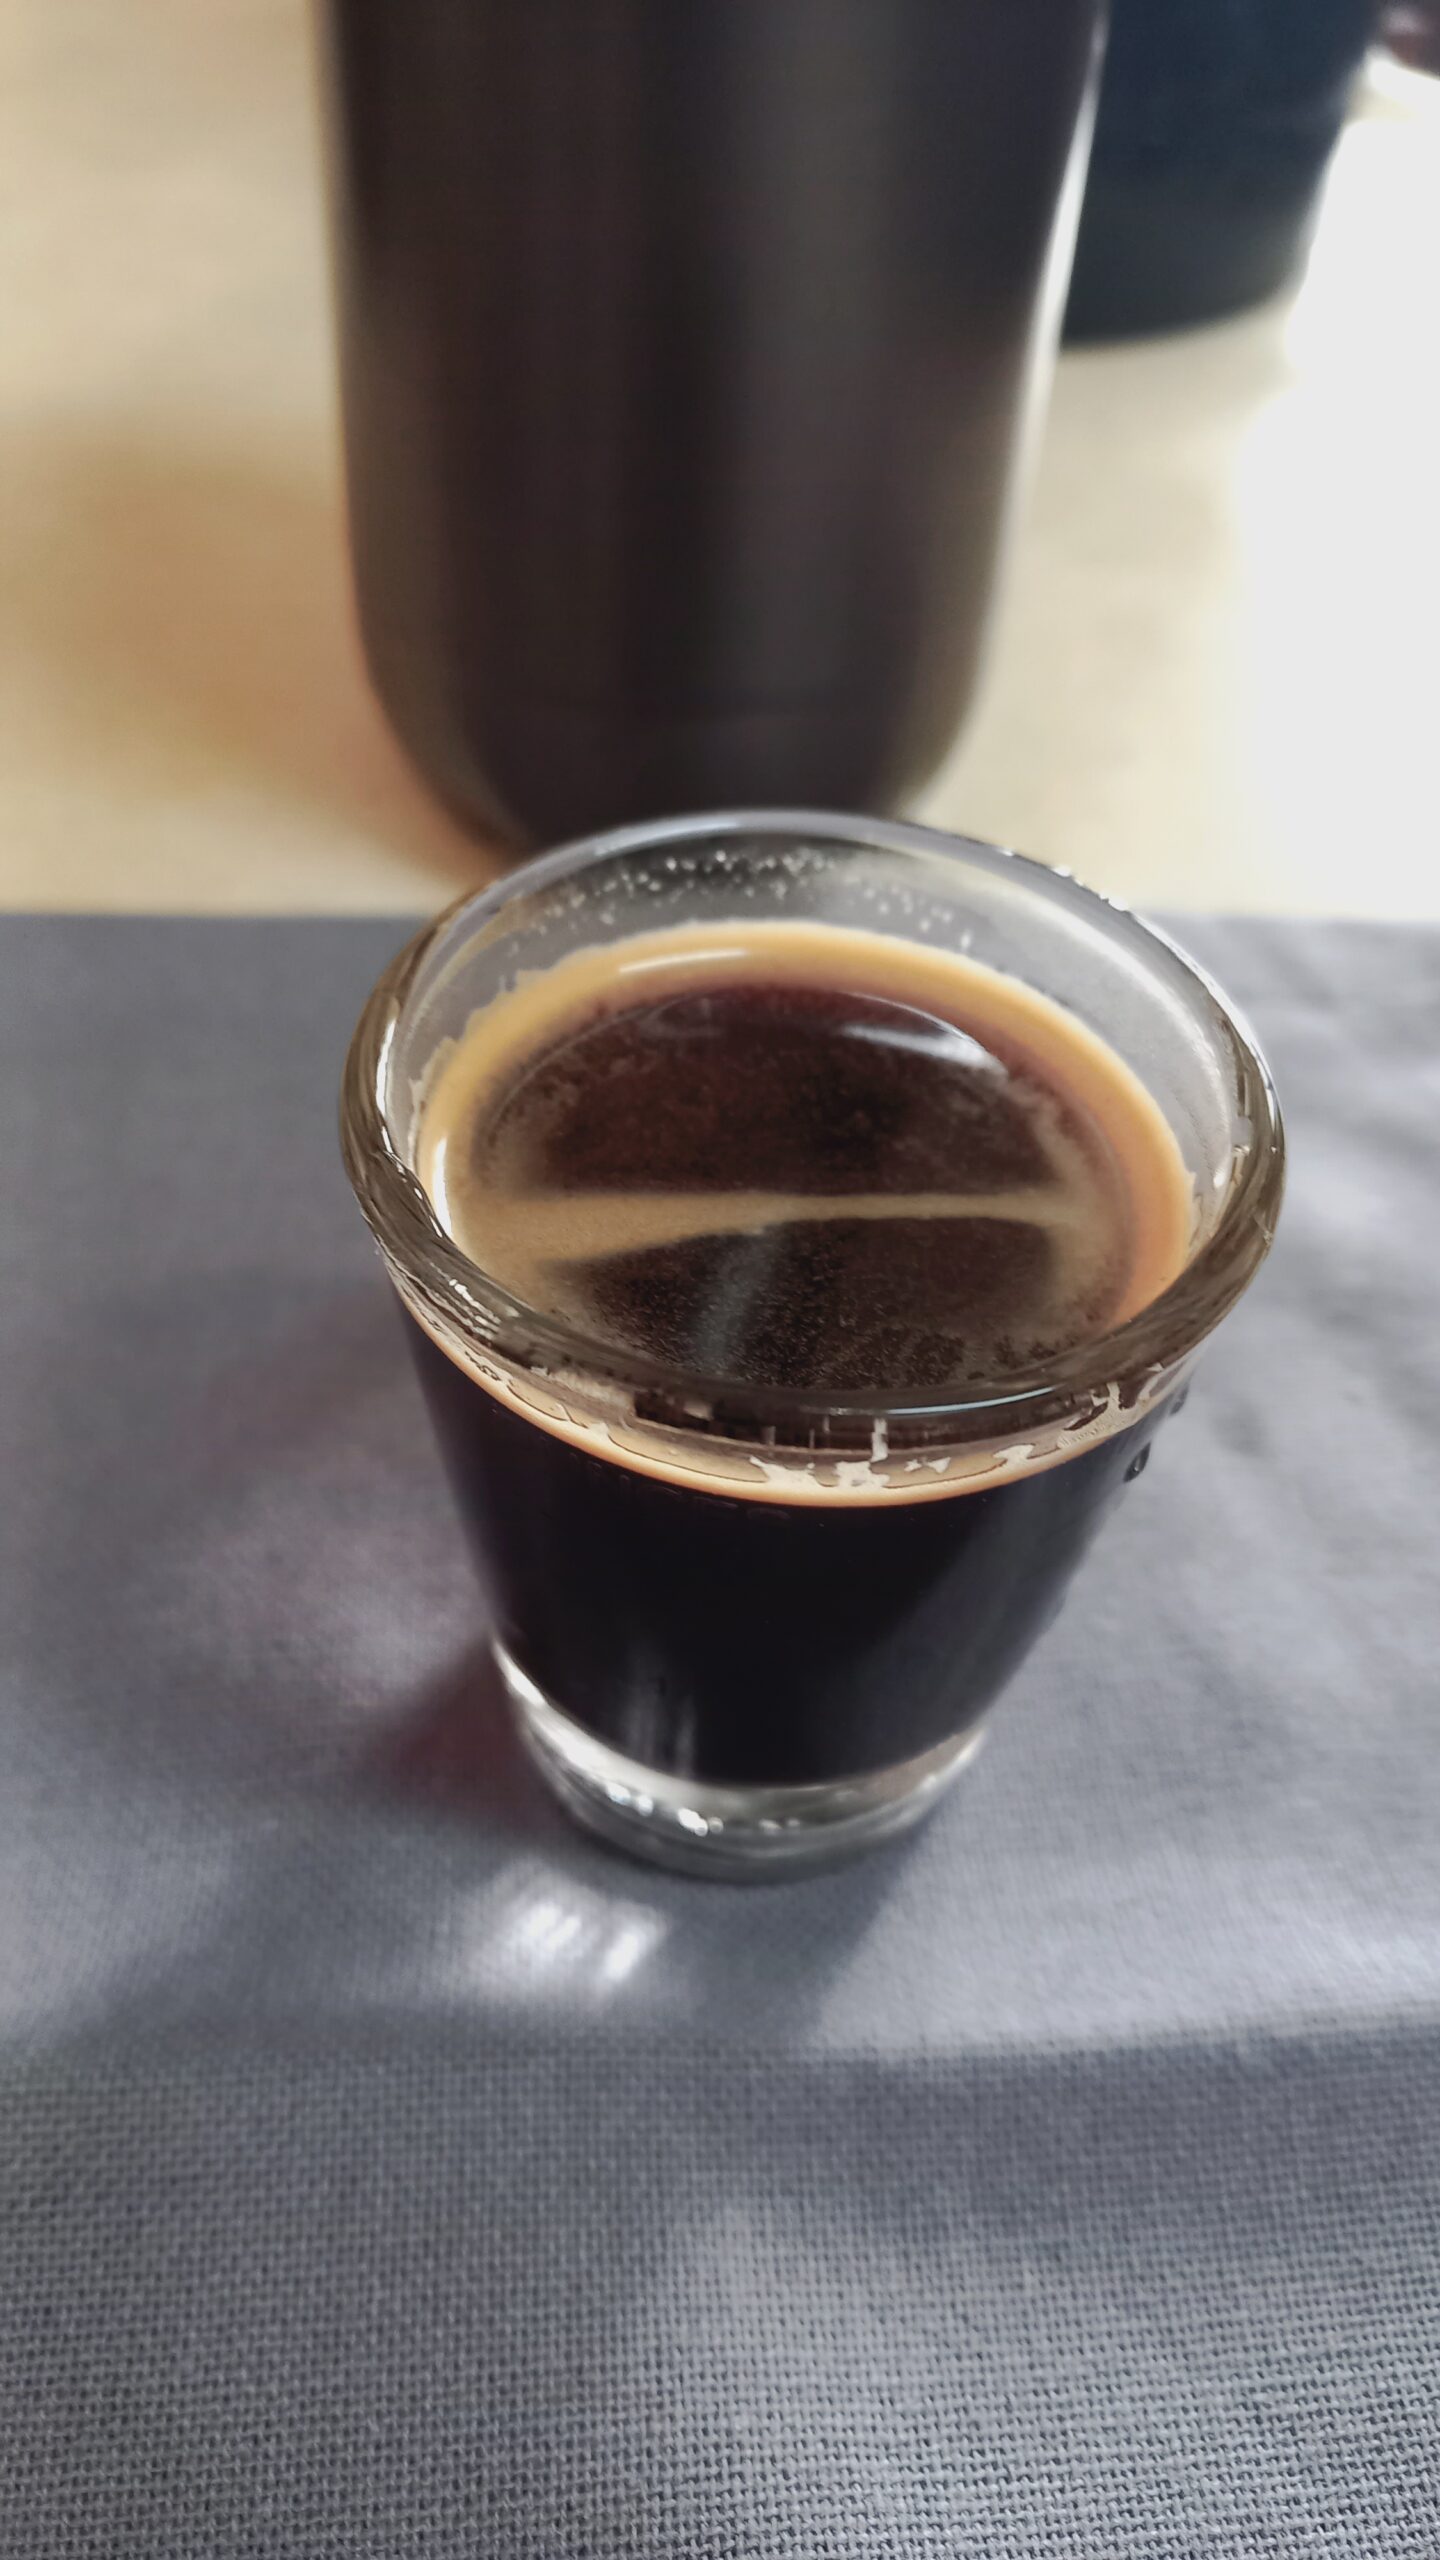
6: Pumping the Shot
Pump until you reach a 1:2 ratio — 18g of coffee in, 36g of espresso out. The shot I pulled was clear, deep, and surprisingly rich for a hand-powered device. This is exactly what I want when I travel. The build quality shows in the cup.
QUALITY OF ESPRESSO
This can produce real espresso; there’s no doubt about that in my mind. When I’m tasting it, it’s next level, and the quality is exactly the same as what I can get from café‑grade espresso machines.
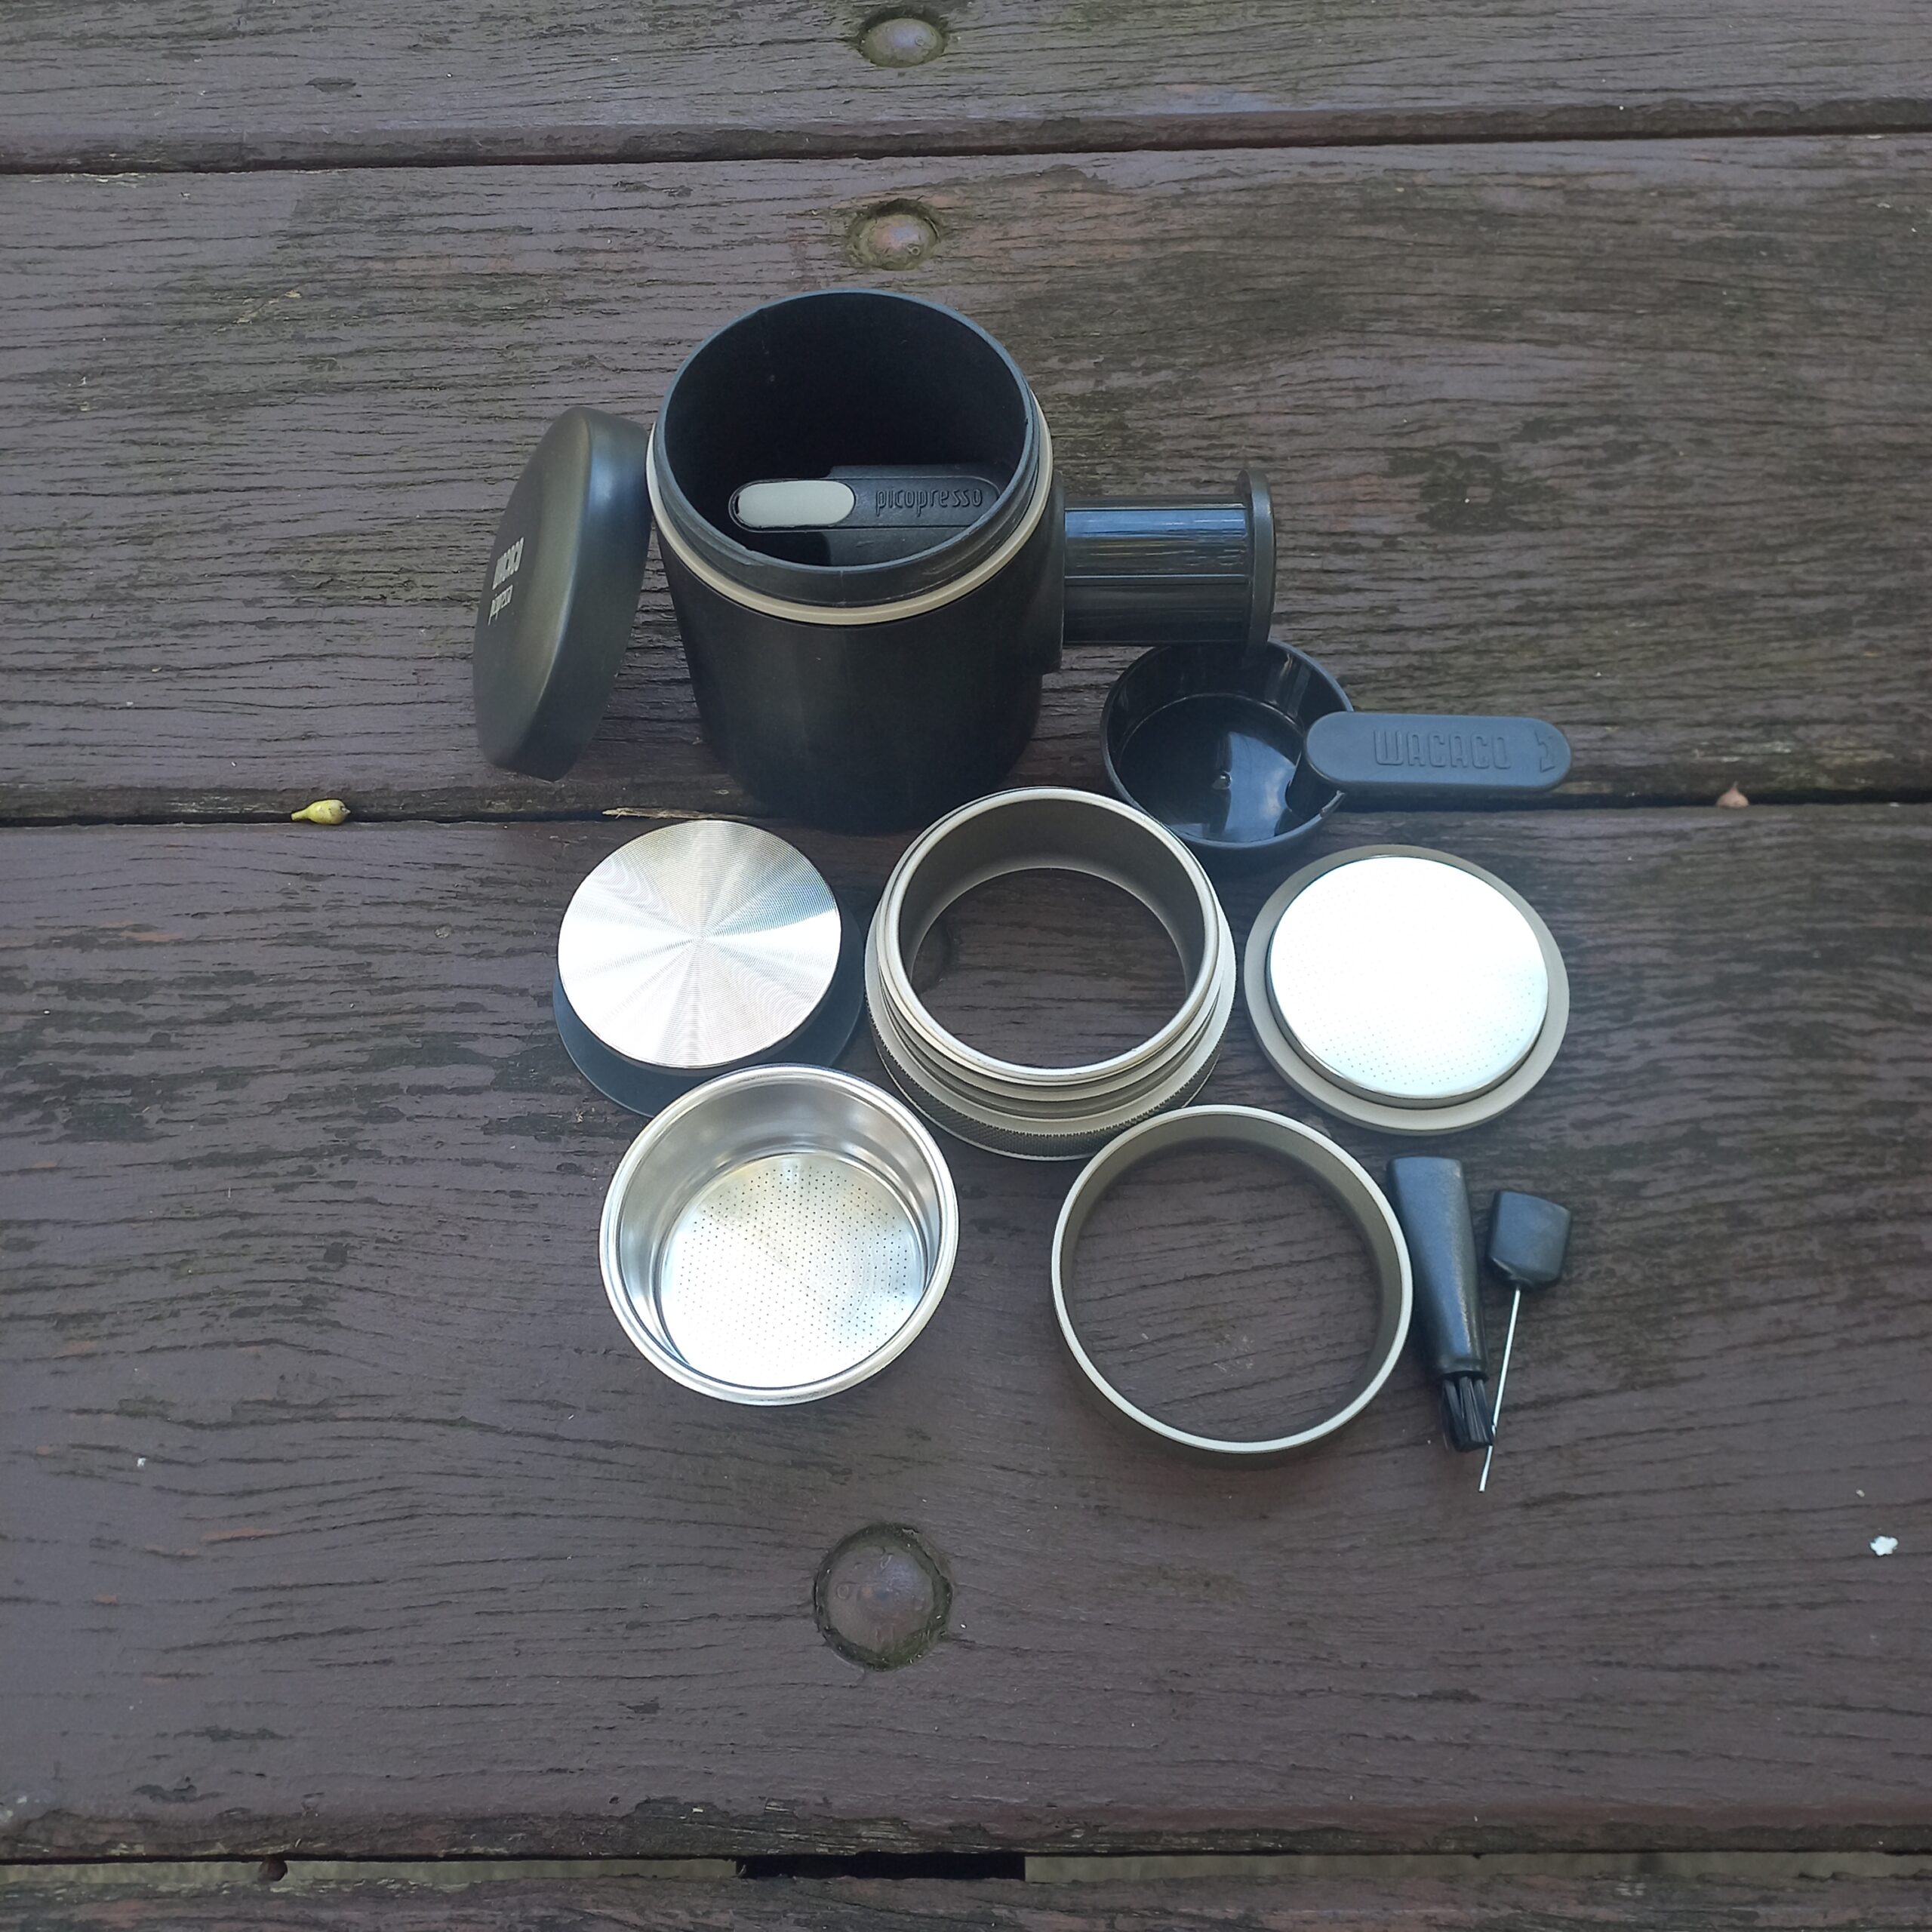
How to Clean the Wacaco Picopresso
Clean-up is really simple; all you really have to do is just rinse them off with water (3 parts: basket, shower head, and portafilter) and wipe them.
Very convenient, easy to clean up. It just simply does a nice job coming with everything.
Quick Compare — Picopresso vs Nanopresso
Short answer: The Picopresso is better in almost every way.

Picopresso
- Non‑pressurized (real extraction, real crema)
- 18g metal basket
- Professional tamper, funnel, distribution tool
- More durable and sturdy
Nanopresso
- Pressurized system (creates “fake” crema)
- Plastic basket
- Built‑in cup, scoop, brush
- Lighter and easier for beginners
Who Should Buy the Picopresso?
Frankly, the Picopresso is not designed for everyone; however, it takes some tinkering to really find the sweet spot. If you don’t mind investing some time in figuring it out and generally enjoy the slow process of brewing coffee by hand, the Picopresso could be a good match.
If you simply want quick coffee with minimal effort, an AeroPress or pod machine may suit you better.
Pros & Cons
|
Pros
|
Cons
|
|---|---|
Summary
I’m going to continue to use this daily. It is a proper, complex, creamy shot of espresso quality that genuinely surprised me with such a compact manual device and without spending 10x more on a machine for a home espresso maker.
If espresso is your caffeinated drink of choice and making coffee is more your speed, I can confidently recommend giving the Picopresso a try.
The WACACO Picopresso
If you’re looking for a travel‑size espresso maker, the Wacaco Picopresso is an impressive portable espresso maker that makes it possible to pull flavorful espresso shots on the go.